July and August were busy, both for the house build and otherwise. For the house we’ve poured the foundation, filled it in, and inflated the outside skin of our house.
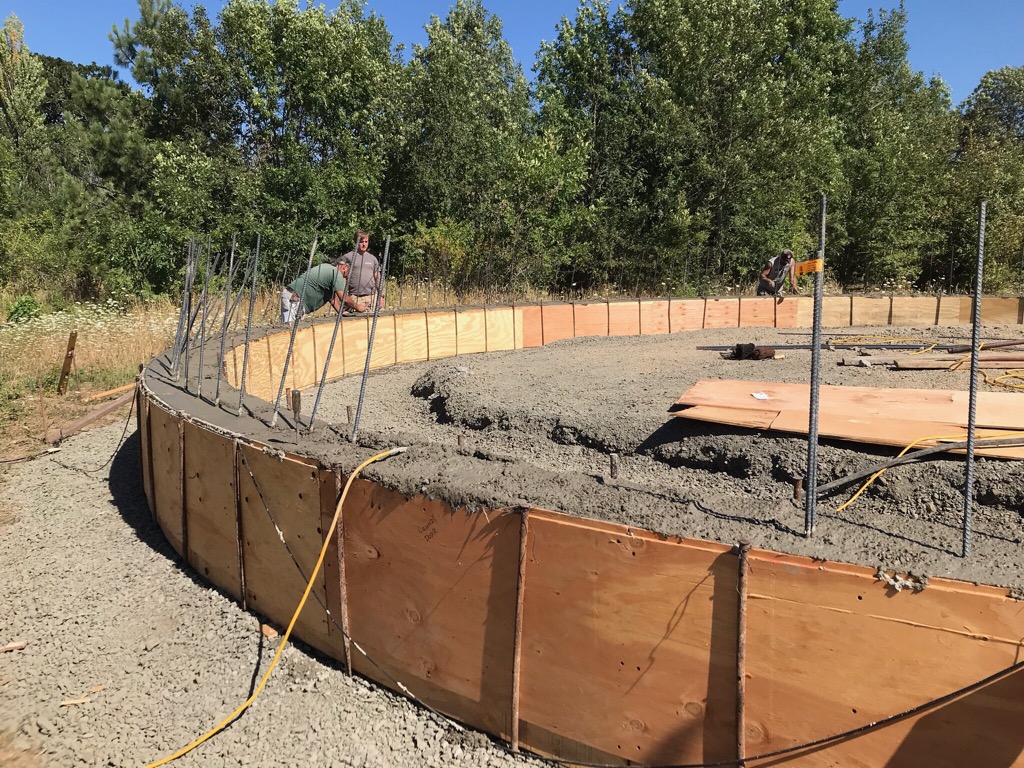
Due to flood regulations, our foundation is over 2 feet tall and we’re going to have to build up around it with dirt once it’s completed. Our foundation was poured on July 19th with only one minor hitch, the concrete company was about a yard and a half short of what was needed to complete the pour and ended up having to make a second trip with just a tiny bit of concrete to finish the job. The result is outstanding though.
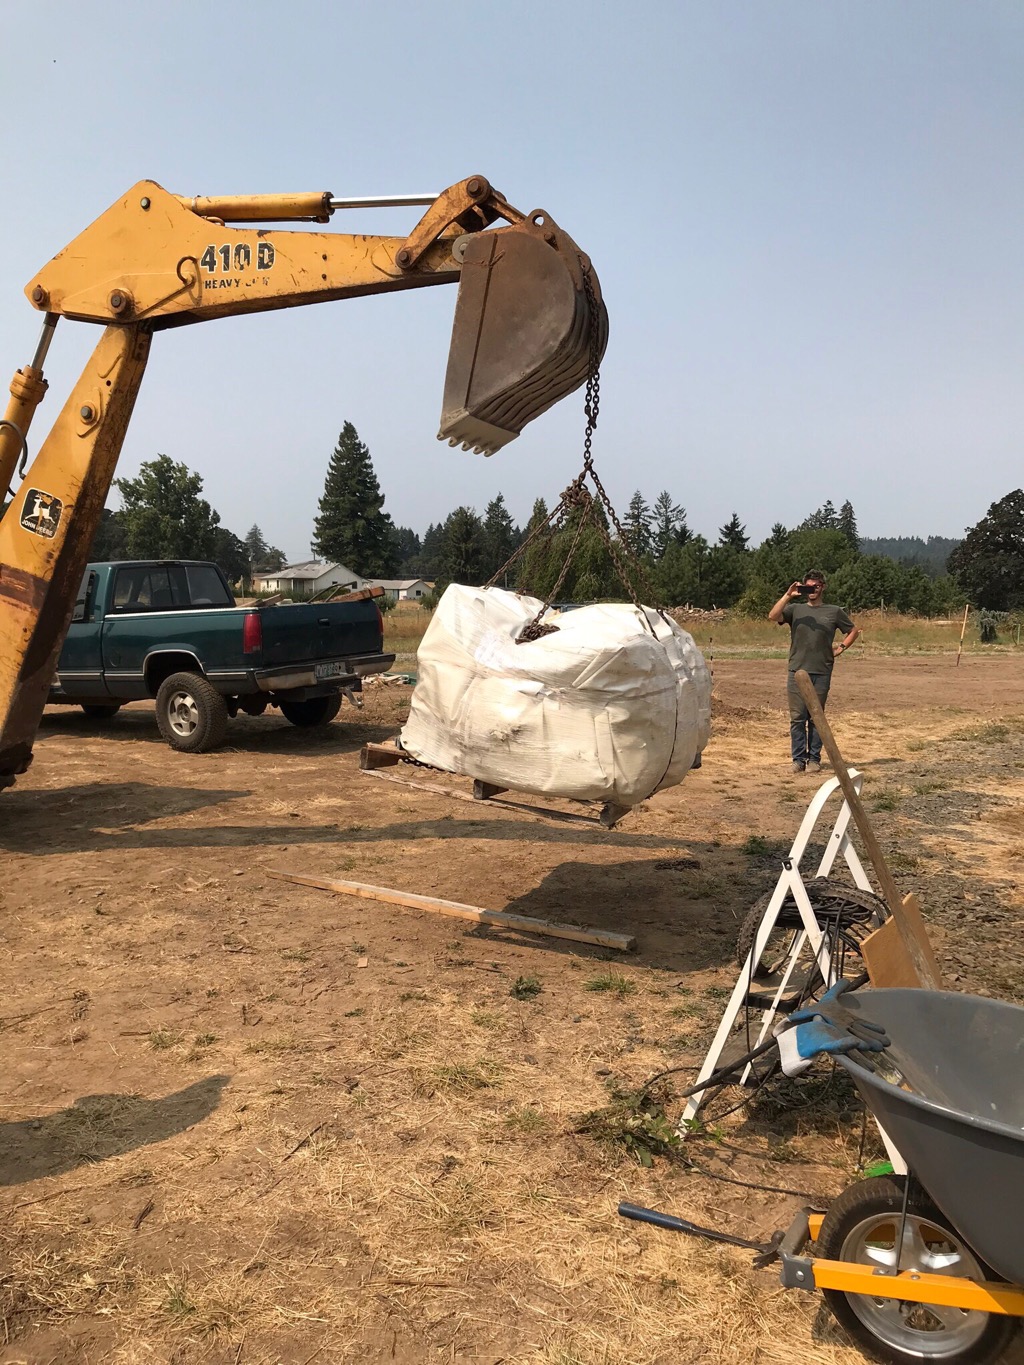
With the foundation complete, our contractor spent a few weeks filling in the floor and prepping the pad for the airform, finally in the middle of August, everything was ready. He stacked up all the equipment he would need inside the dome after the airform was inflated, covered it up so nothing would puncture the airform, and lifted the airform onto the center of the pad.
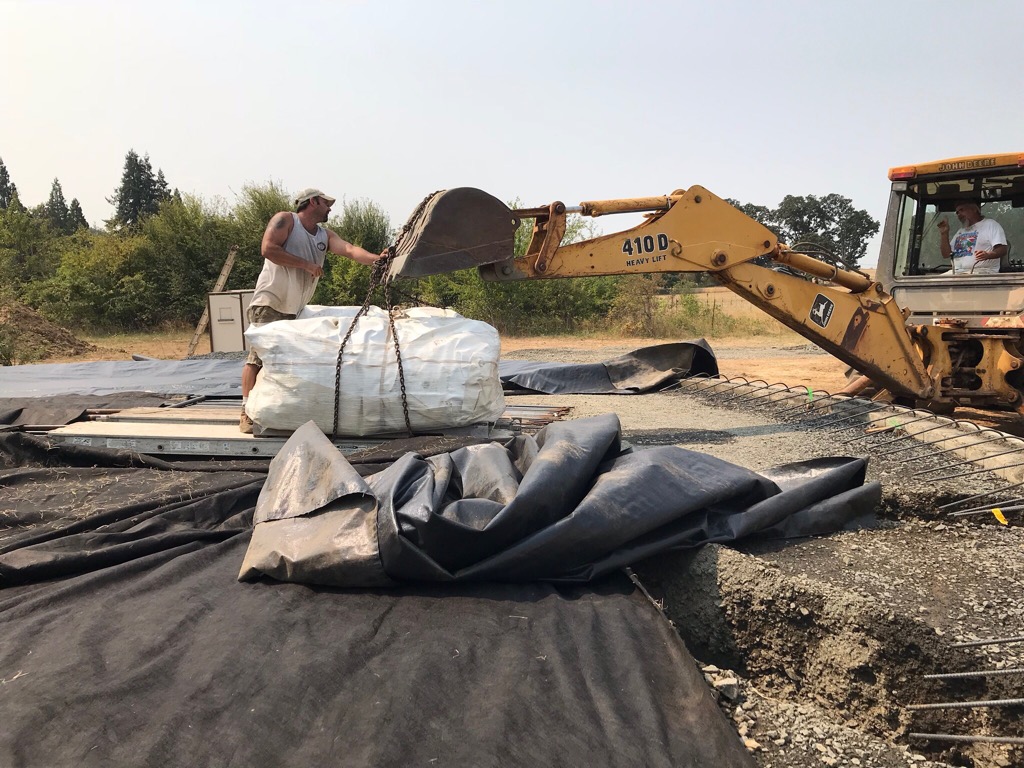
At about 700 pounds, the airform was a beast to get into place and it turned out all Wayne’s assumptions were a bit off, we put the airform in the center of the dome but it needed to be aligned with the front door. These things should come with instructions!
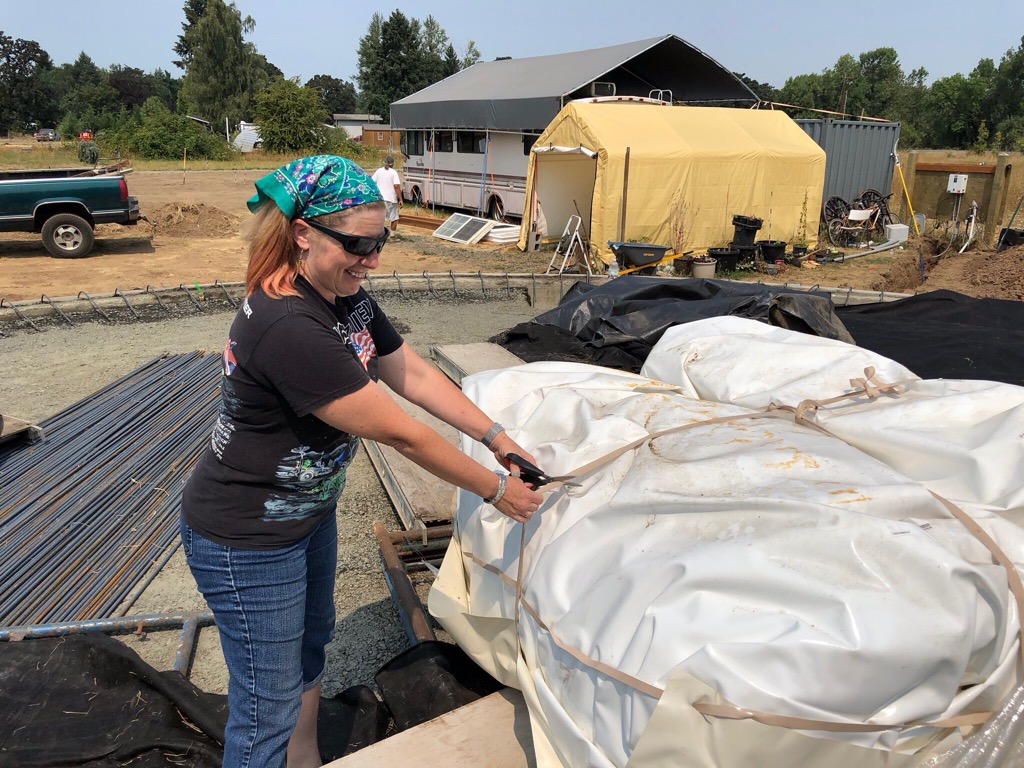
The moment of truth! Char is cutting open the airform which had been sitting in storage for the past few months waiting for the pad to be completed.
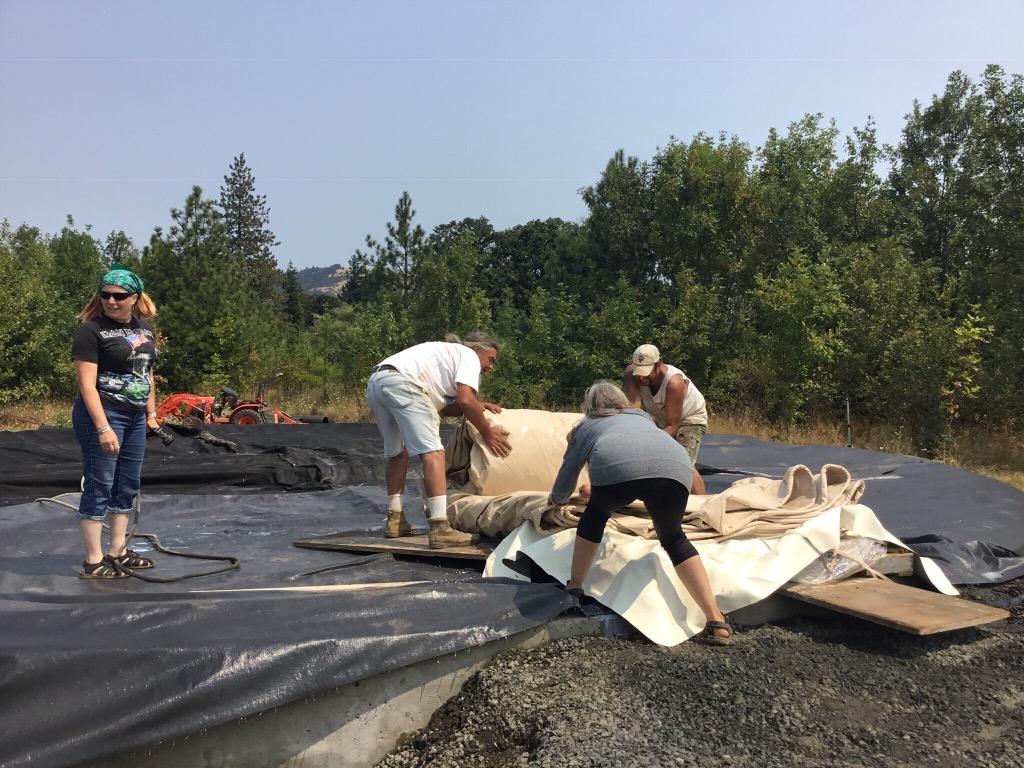
With the final location squared away, it was time to unroll and spread out the airform. It’s like spreading giant tent out.
During shipping, some of the primer was punctured and leaked all over things. You can see a bunch on the black cloth to the right of the airform. Fortunately we still had enough primer to get the job done correctly.
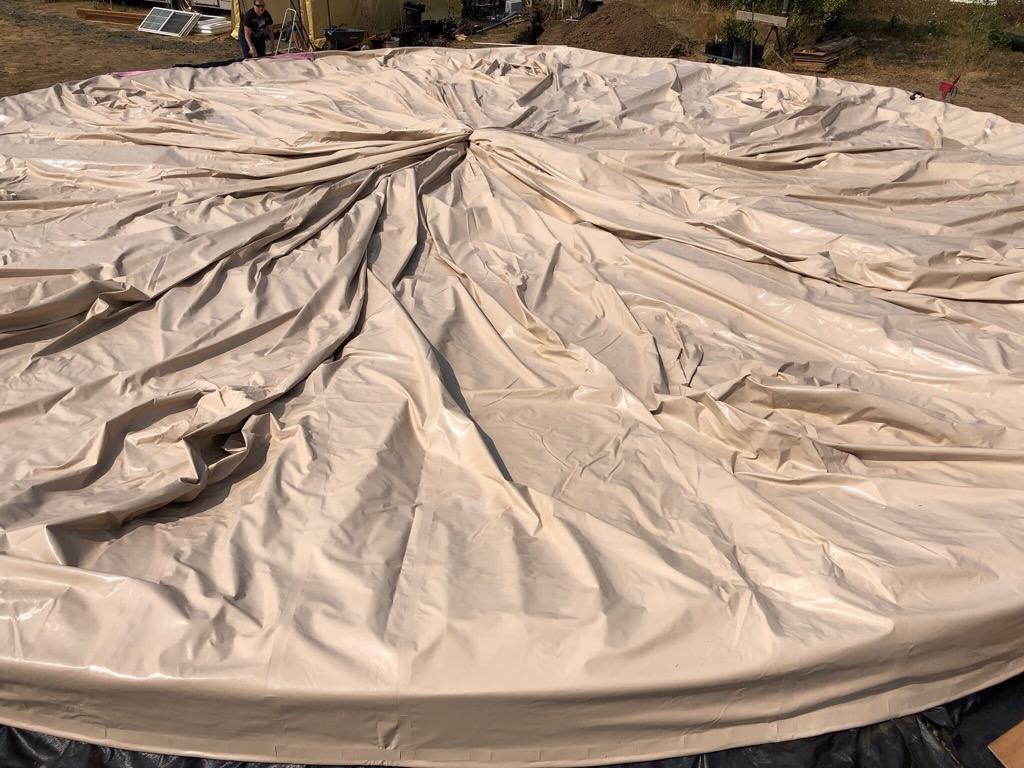
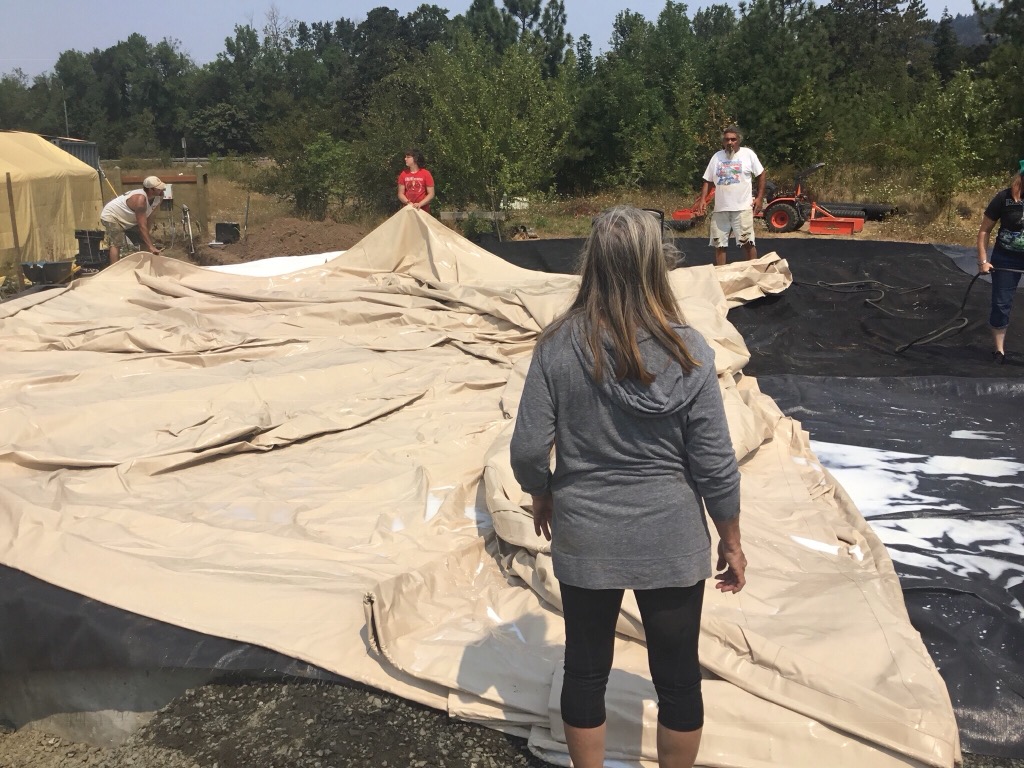
Fully spread out, we still had to drill and attach the brackets along the outside of the airform before it could be inflated. Roughly 320 holes drilled into the concrete later, after that plus some additional prep work, it was ready to inflate on August 14th.
Just like a giant balloon. On the first day we didn’t have the air lock attached, so we just inflated it for the evening to let it stretch out a bit then lowered things back down.
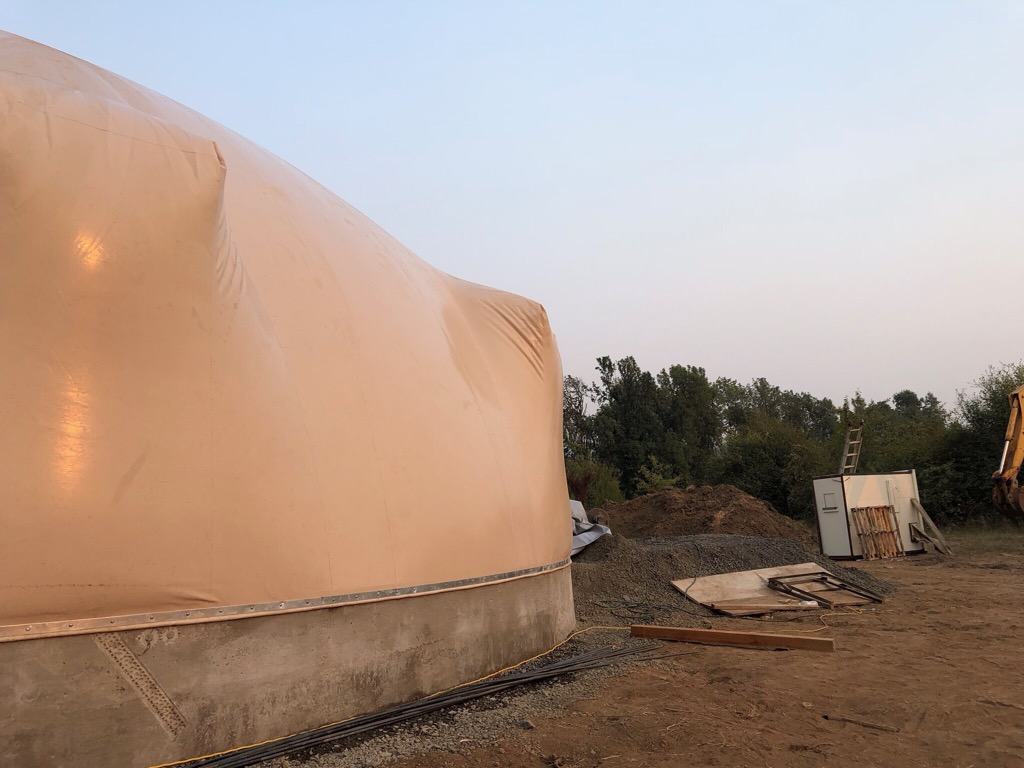
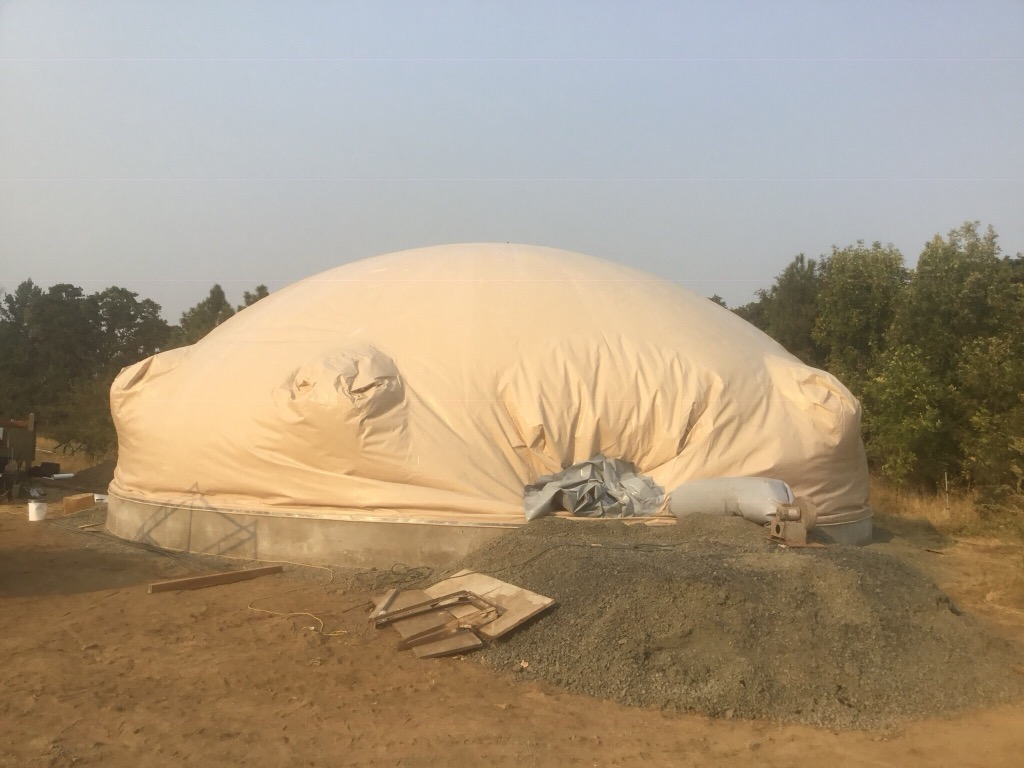
Here it is fully inflated, the airlock is the blocky white thing in the background. The blower makes the airform quite firm.
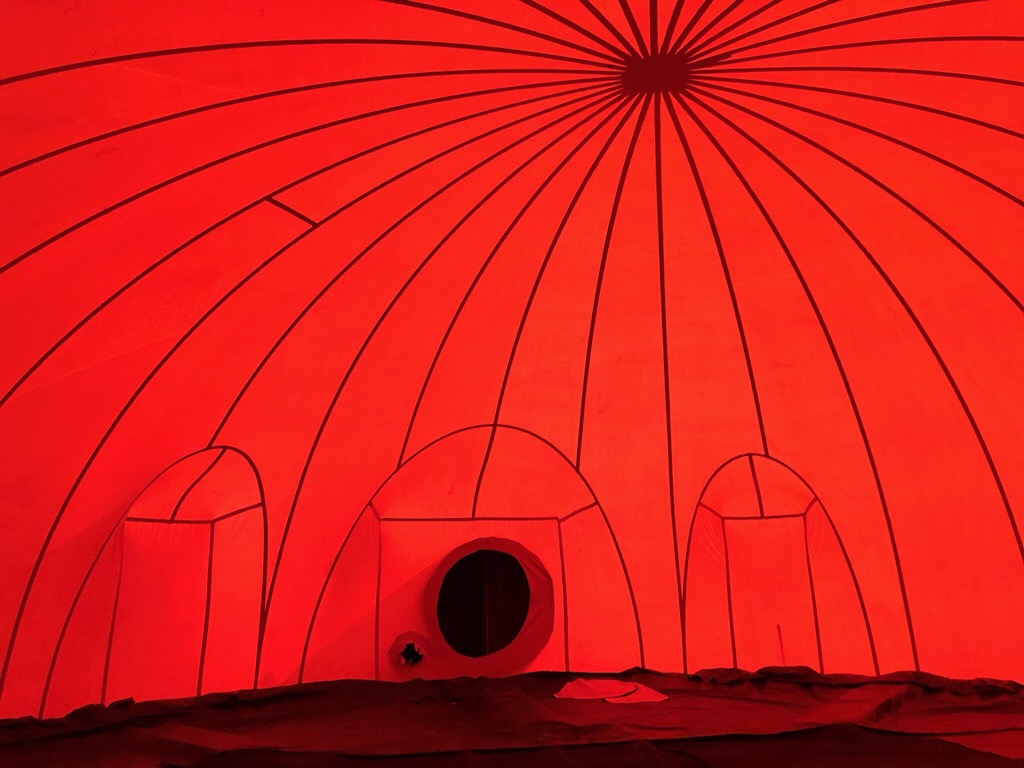
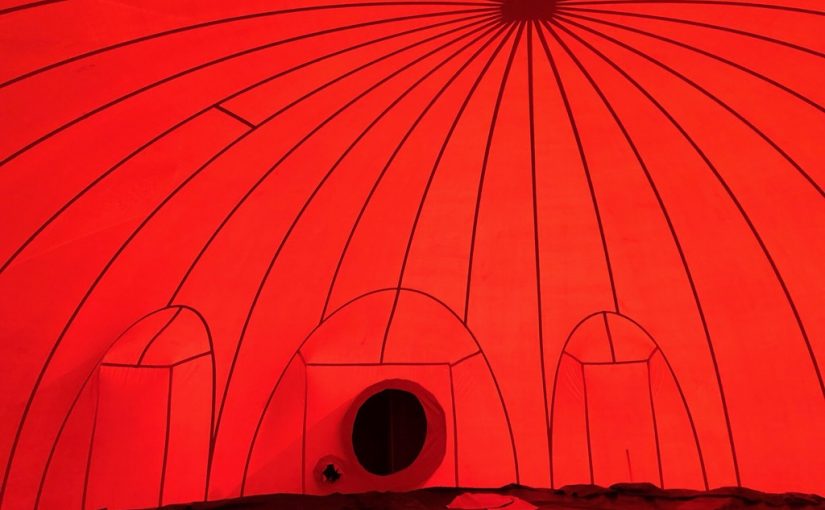
A couple days later with the airlock in place, we were able to explore our house from the inside for the first time. Here it is, looking back at the airlock which will eventually be our front door. The orange color is sunlight filtering through the vinyl and the black lines are thick seams welded into the thick skin of our house.
Next we’ll install the door and window frames and start spraying insulation!