An Old Fashioned Dome Raising Party

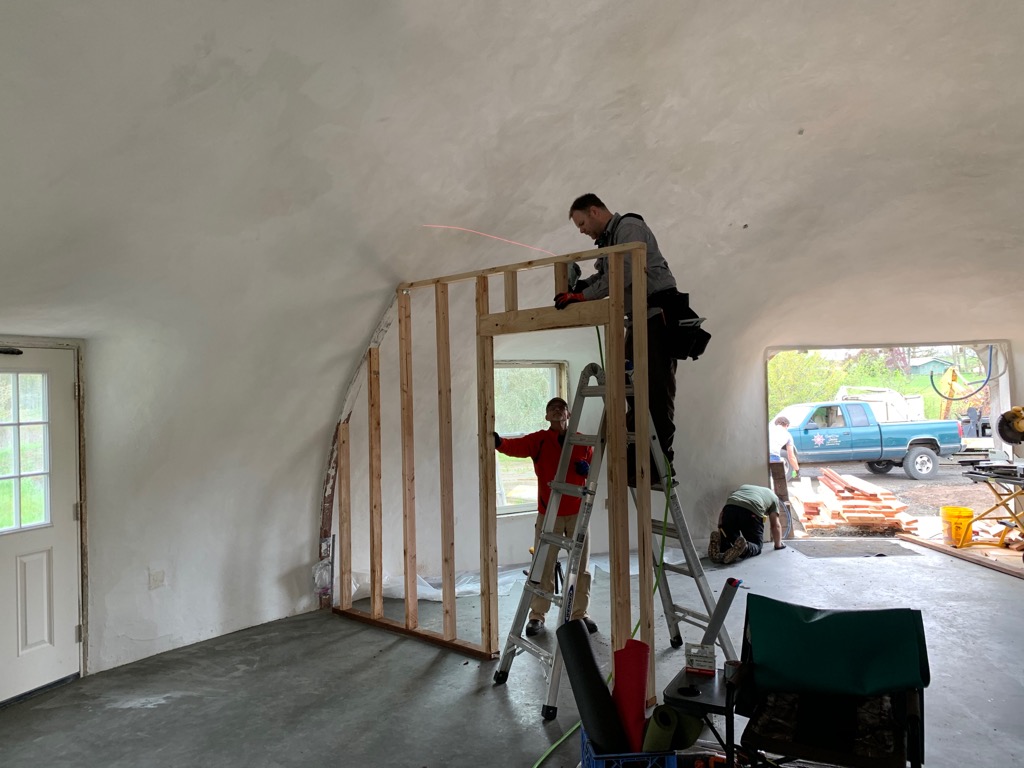
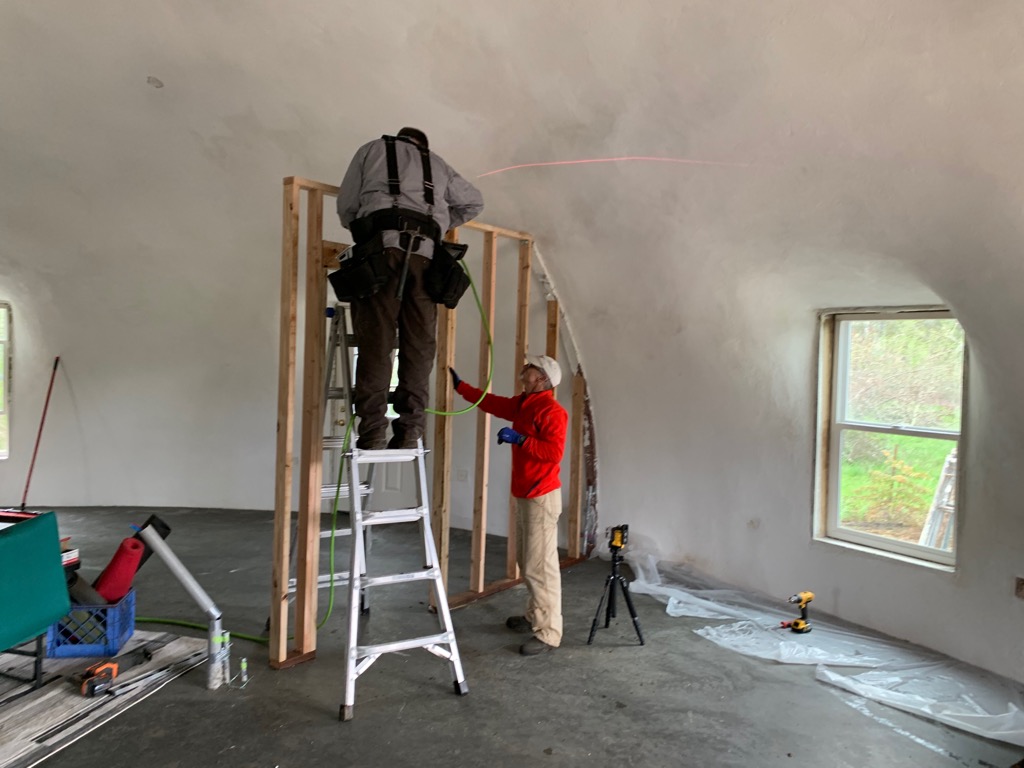
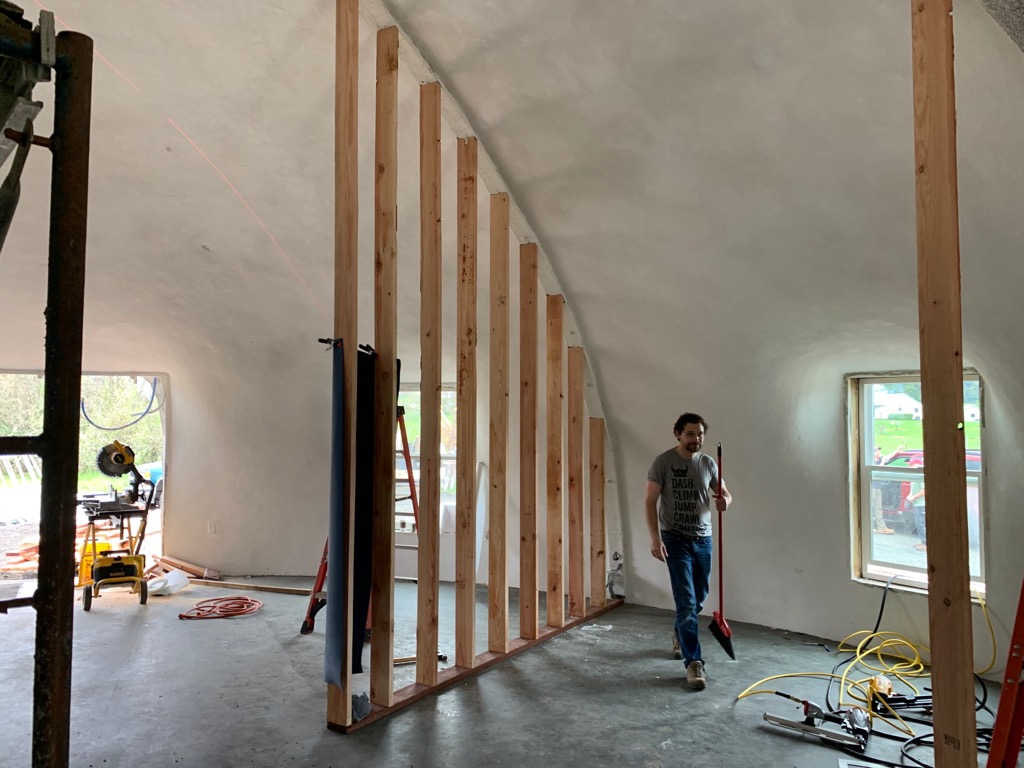
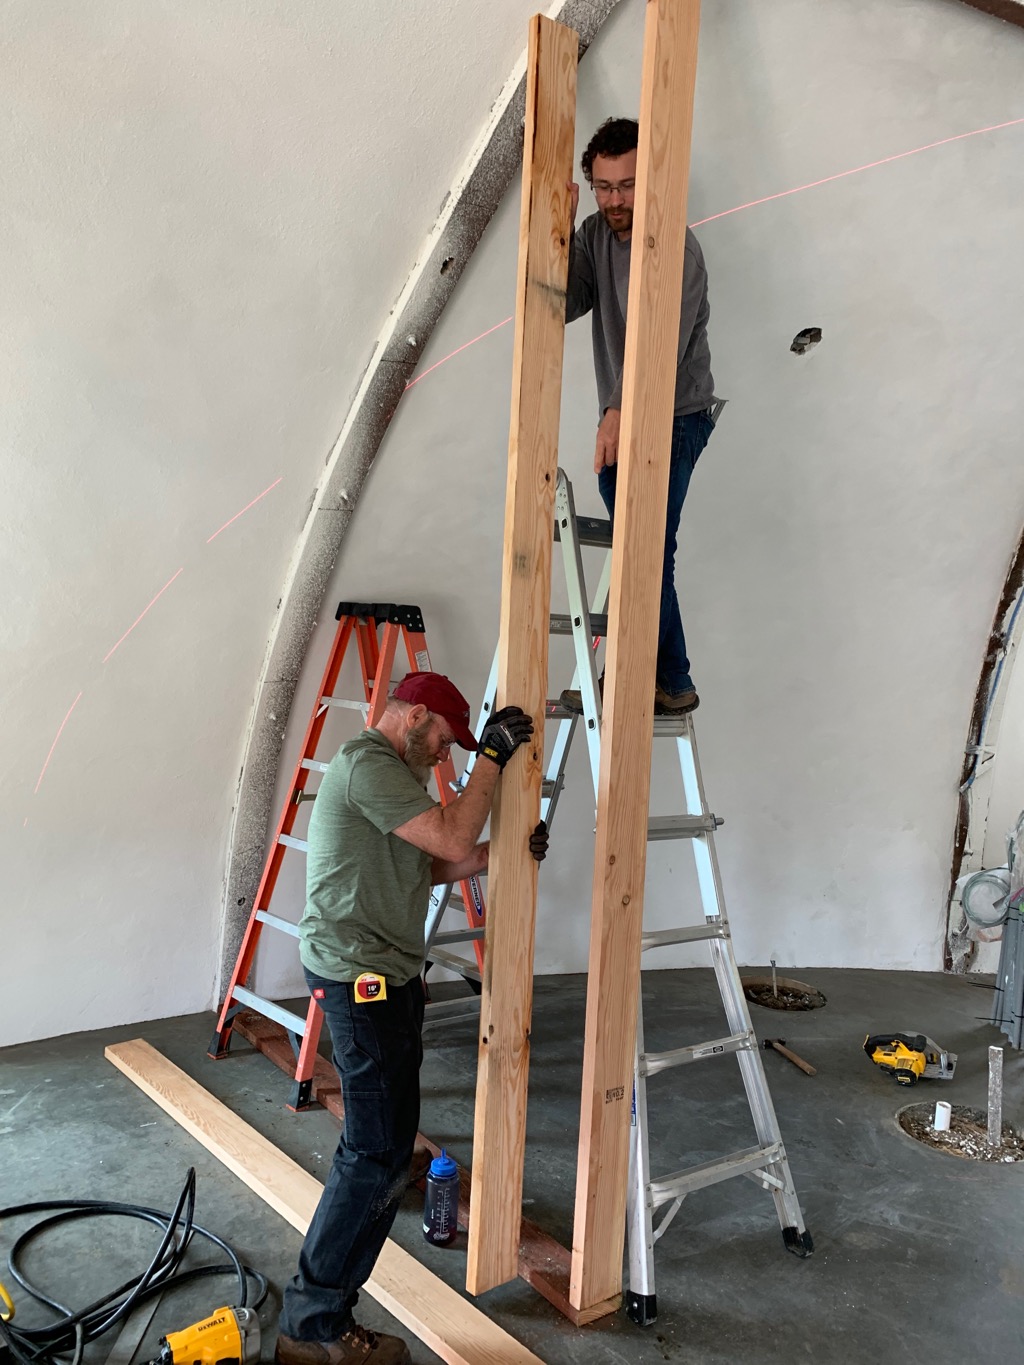
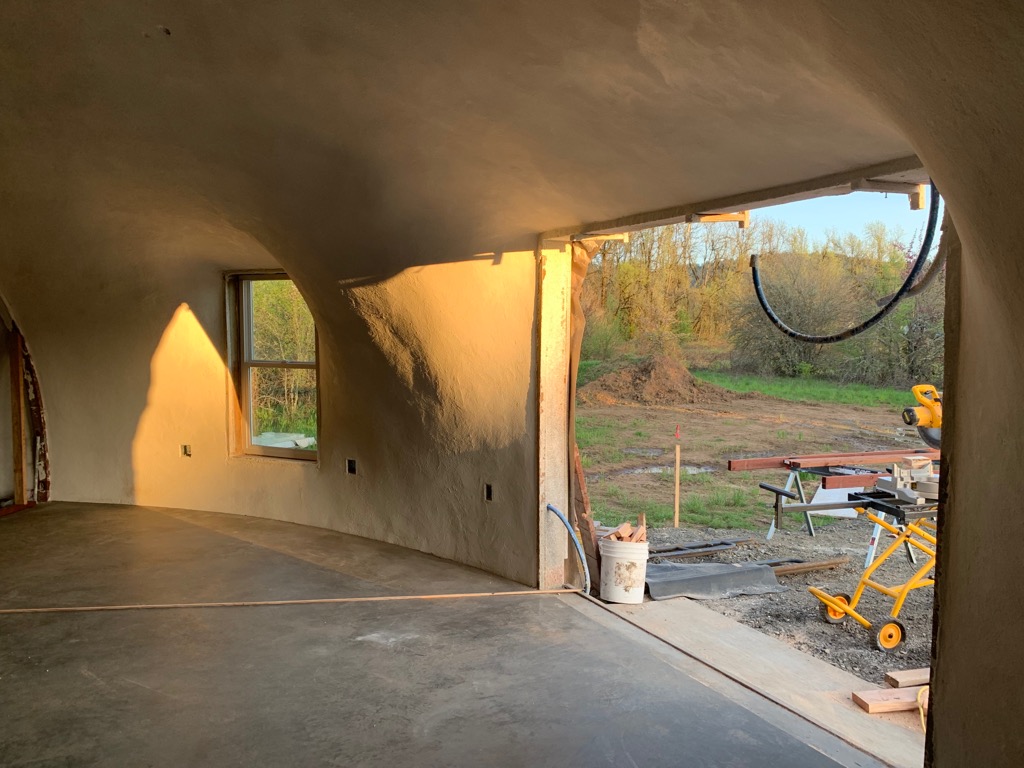
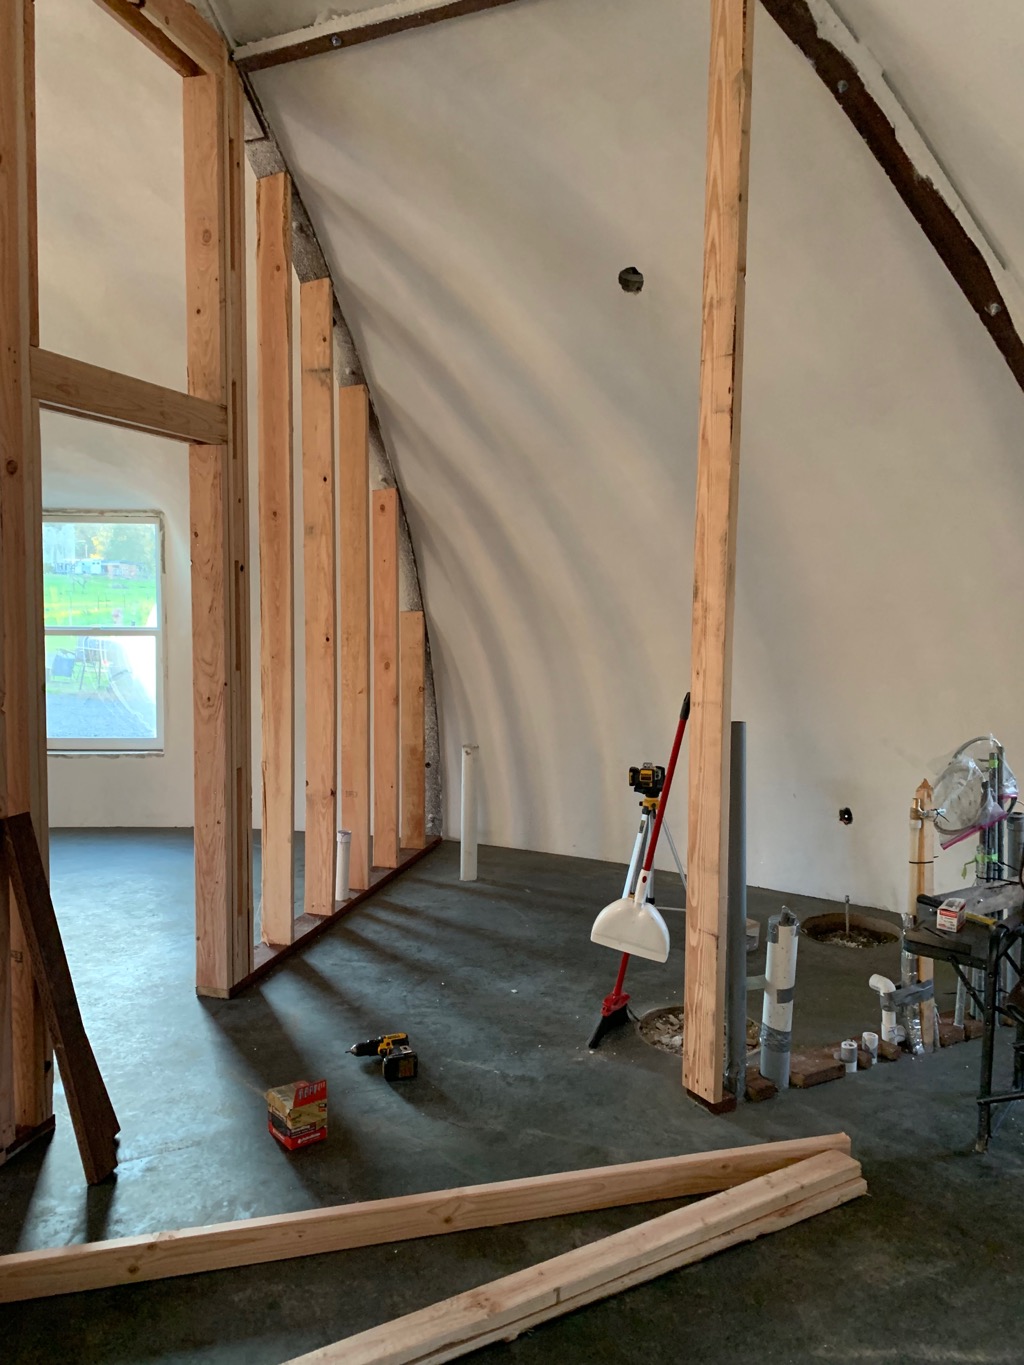
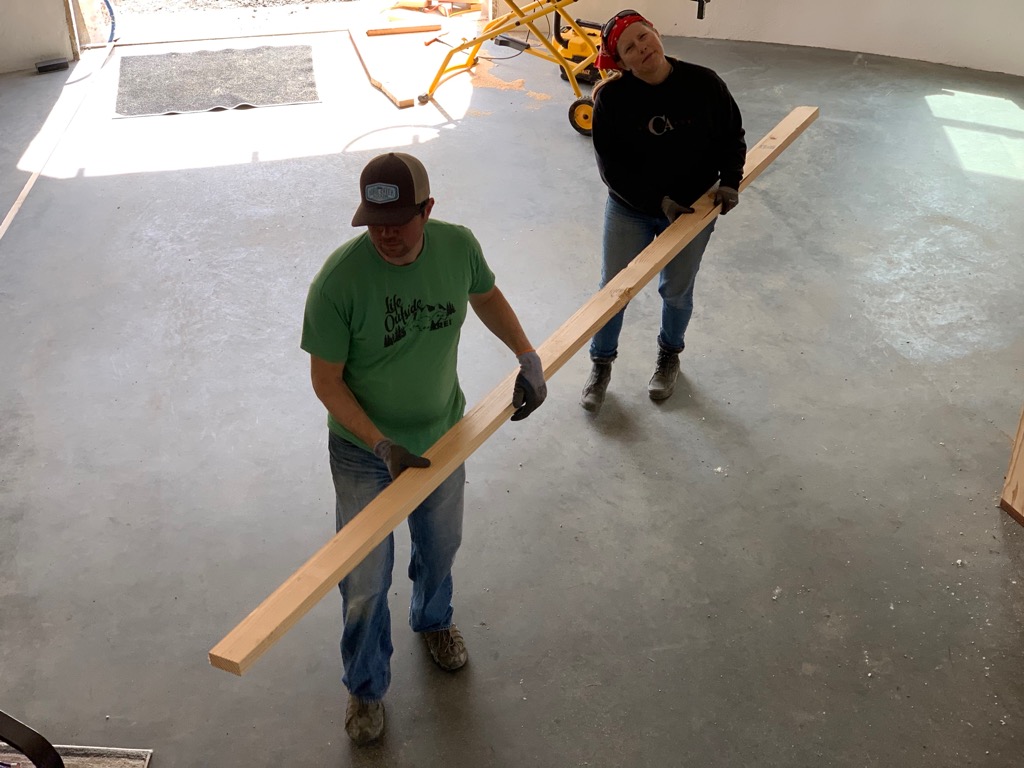
Our floor was FINALLY poured Thursday and we were told we could start framing this weekend so I invited/ begged a few friends to come over and give us a hand with the framing on the inside

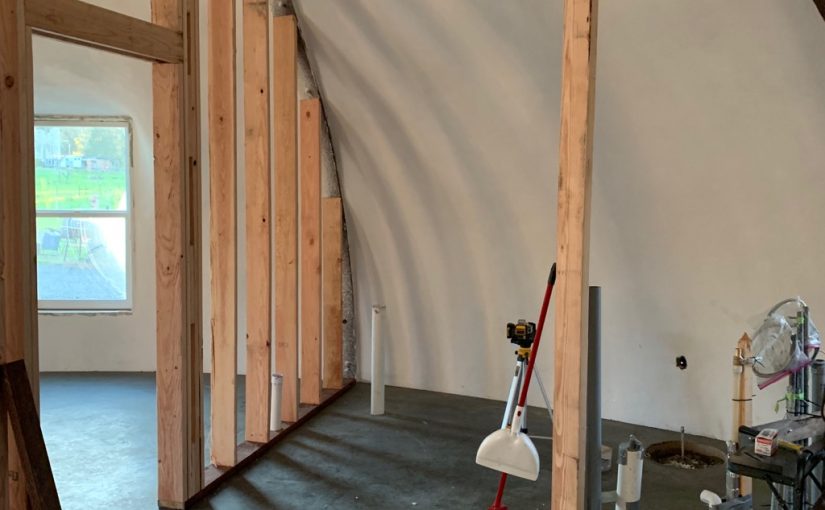
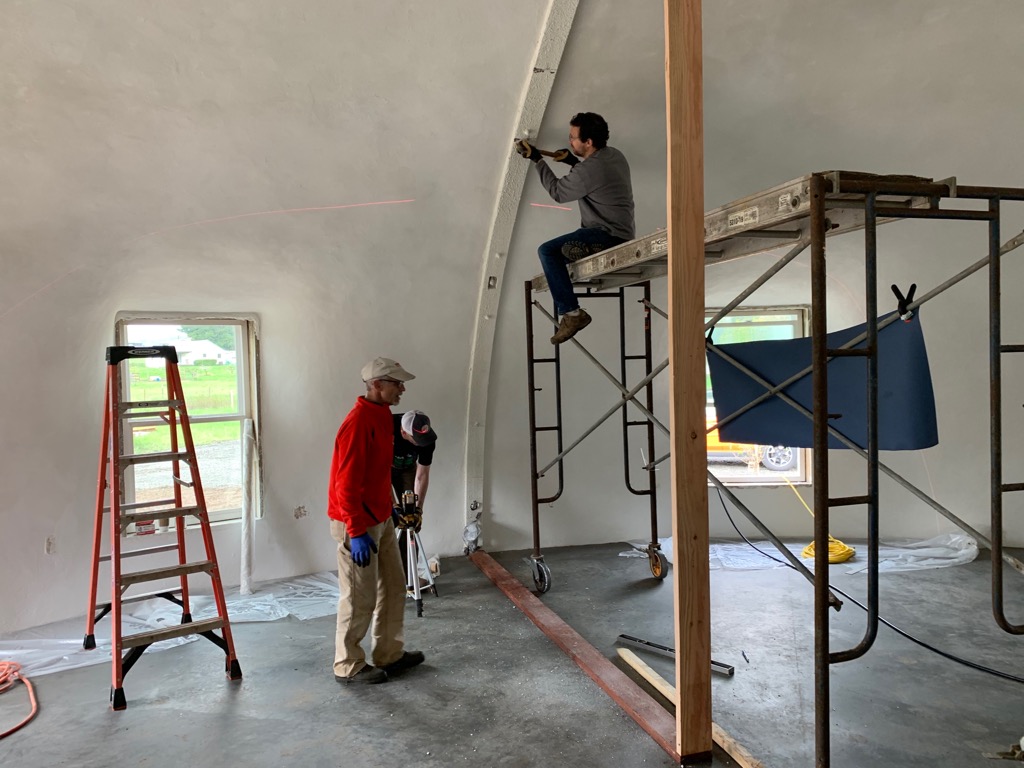
After a long Saturday of building with 5 good friends, Char and I, we managed to get a huge amount of progress  More than half the walls are framed and there were not tour normal square/ 8 foot jobs  We were wrestling 13 foot boards into place and many had complex Curt’s to fit the curves of the dome

80 percent done, 80% to go

IMG_0850.jpeg
IMG_0852.jpeg
IMG_0853.jpeg
IMG_0856.jpeg
IMG_0859.jpeg
IMG_0871.jpeg
IMG_0870.jpeg
IMG_0867.jpeg

Home Build – Pouring the foundation through inflation

July and August were busy, both for the house build and otherwise. For the house we’ve poured the foundation, filled it in, and inflated the outside skin of our house.
IMG_0001.jpeg

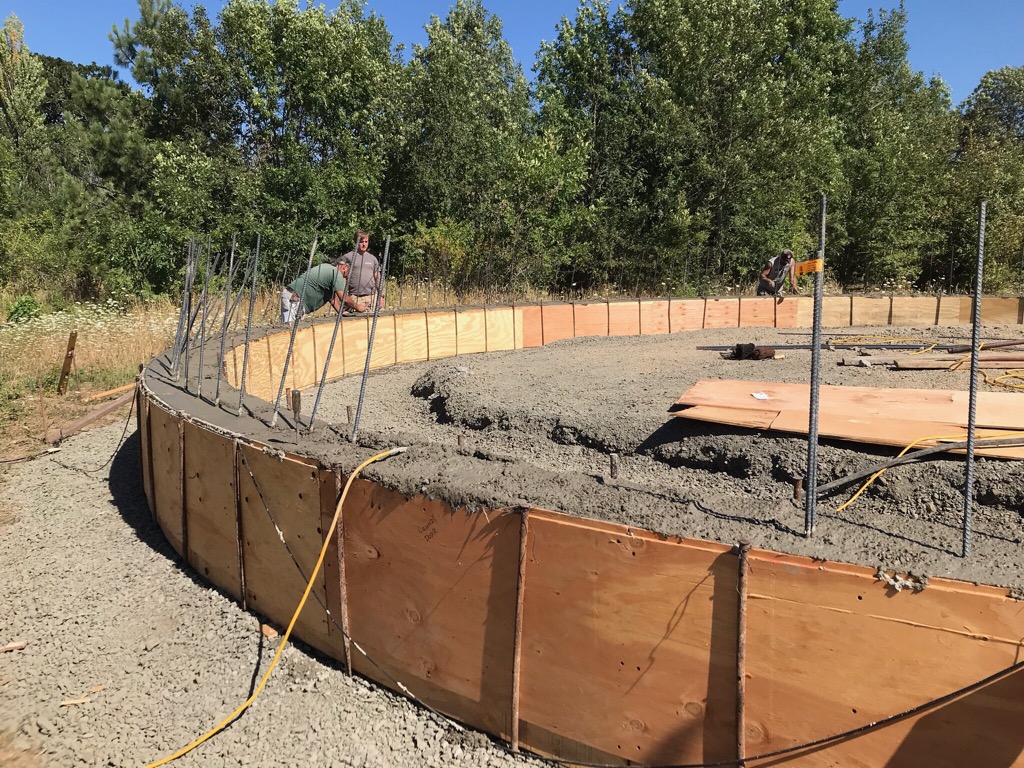
Due to flood regulations, our foundation is over 2 feet tall and we’re going to have to build up around it with dirt once it’s completed. Our foundation was poured on July 19th with only one minor hitch, the concrete company was about a yard and a half short of what was needed to complete the pour and ended up having to make a second trip with just a tiny bit of concrete to finish the job. The result is outstanding though.
IMG_0003.jpeg
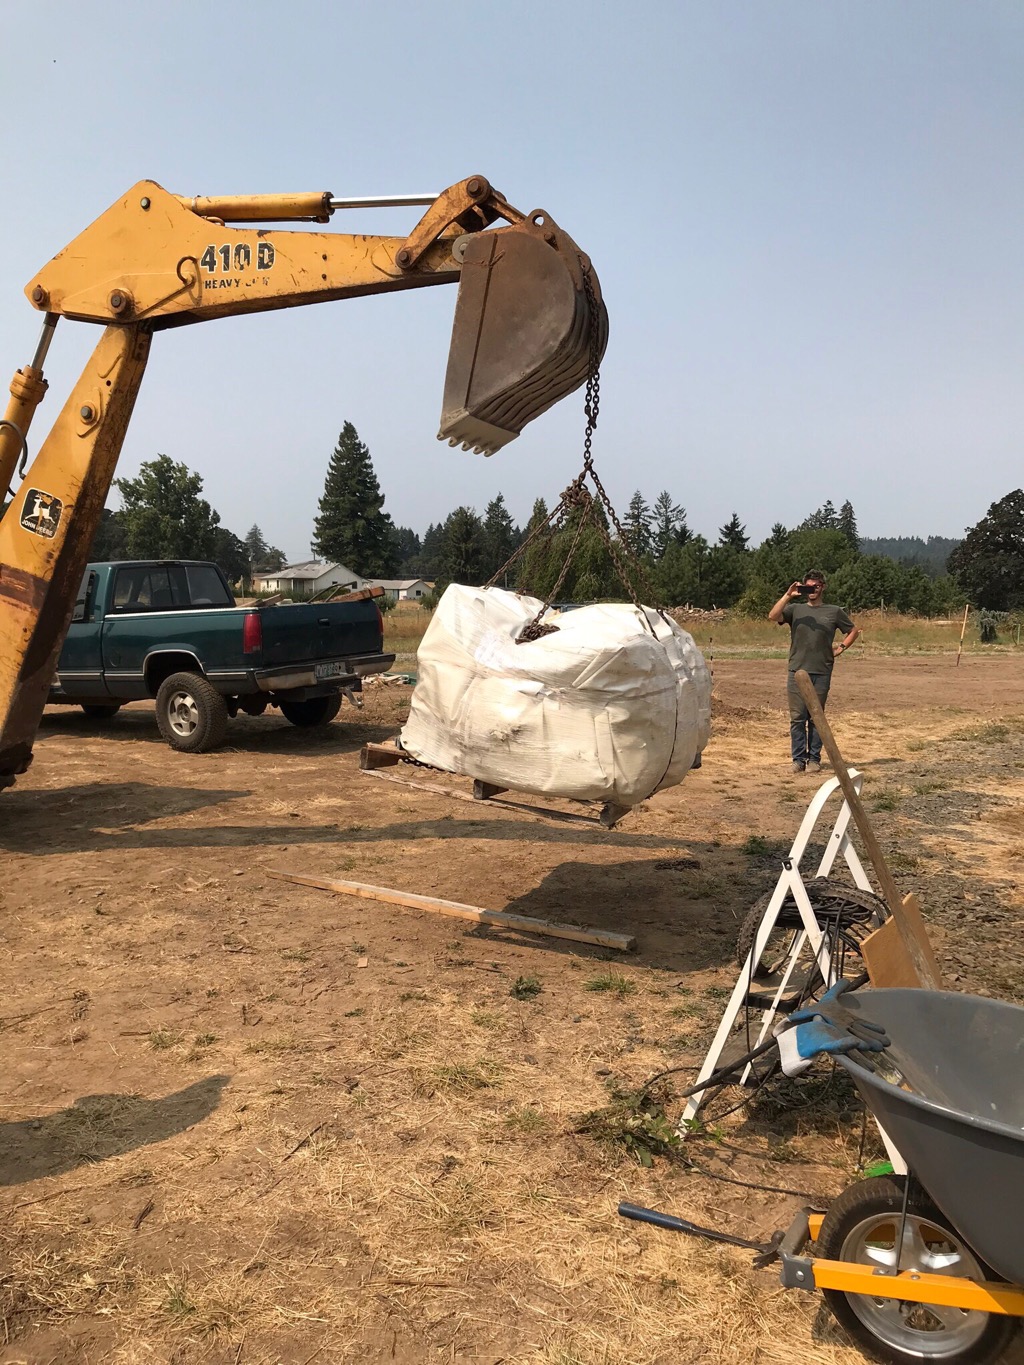
With the foundation complete, our contractor spent a few weeks filling in the floor and prepping the pad for the airform, finally in the middle of August, everything was ready. He stacked up all the equipment he would need inside the dome after the airform was inflated, covered it up so nothing would puncture the airform, and lifted the airform onto the center of the pad.
IMG_0005.jpeg
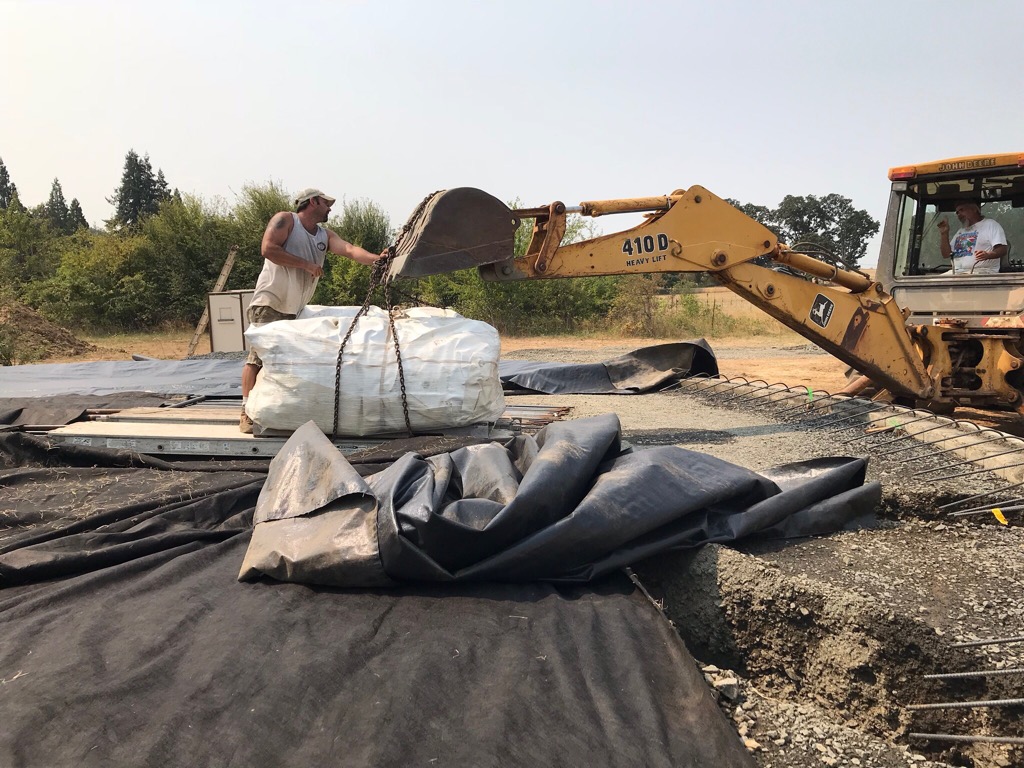
At about 700 pounds, the airform was a beast to get into place and it turned out all Wayne’s assumptions were a bit off, we put the airform in the center of the dome but it needed to be aligned with the front door. These things should come with instructions!
IMG_0006.jpeg

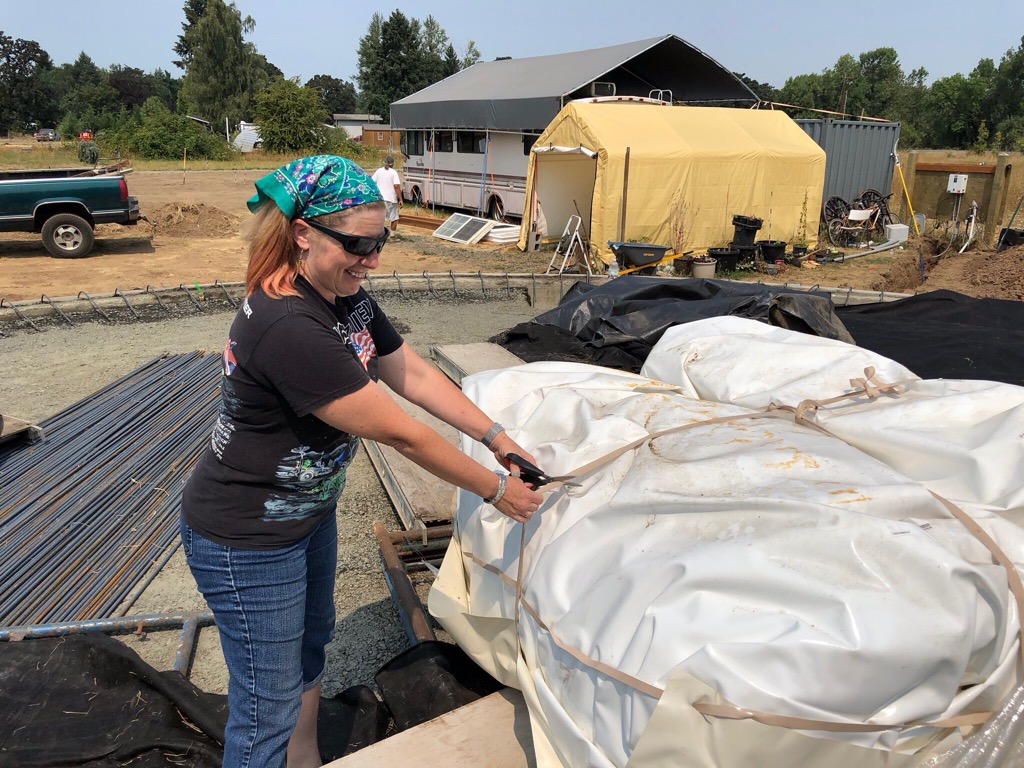
The moment of truth! Char is cutting open the airform which had been sitting in storage for the past few months waiting for the pad to be completed.
IMG_0007.jpeg
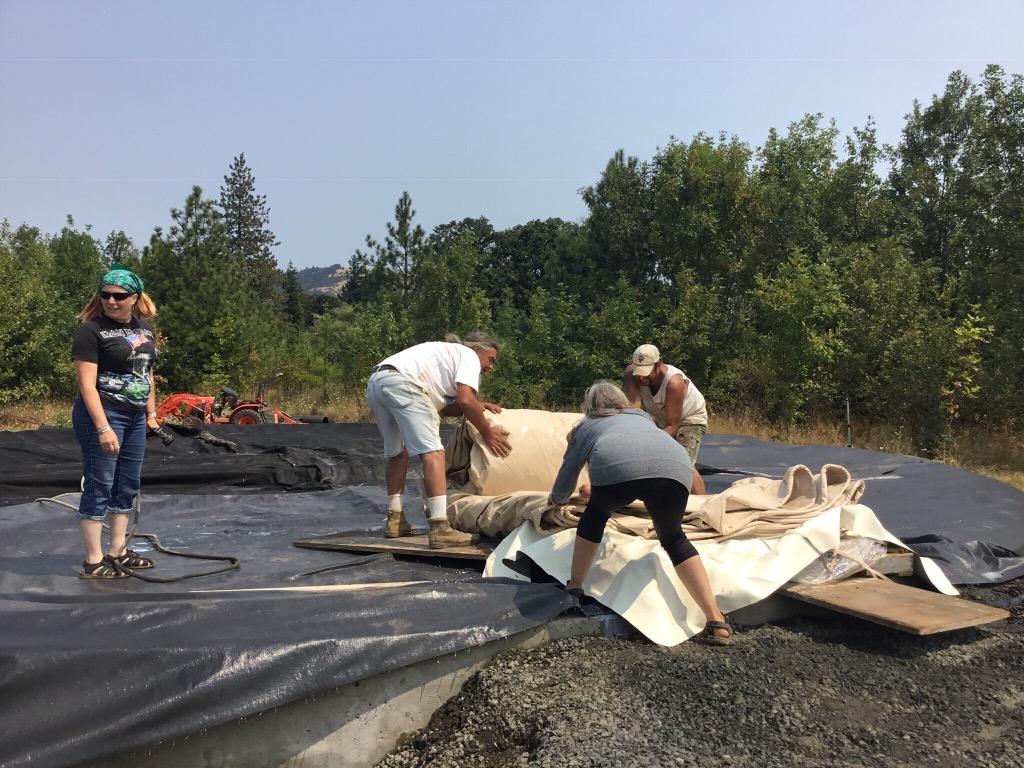
With the final location squared away, it was time to unroll and spread out the airform. It’s like spreading giant tent out.
IMG_0008.jpeg
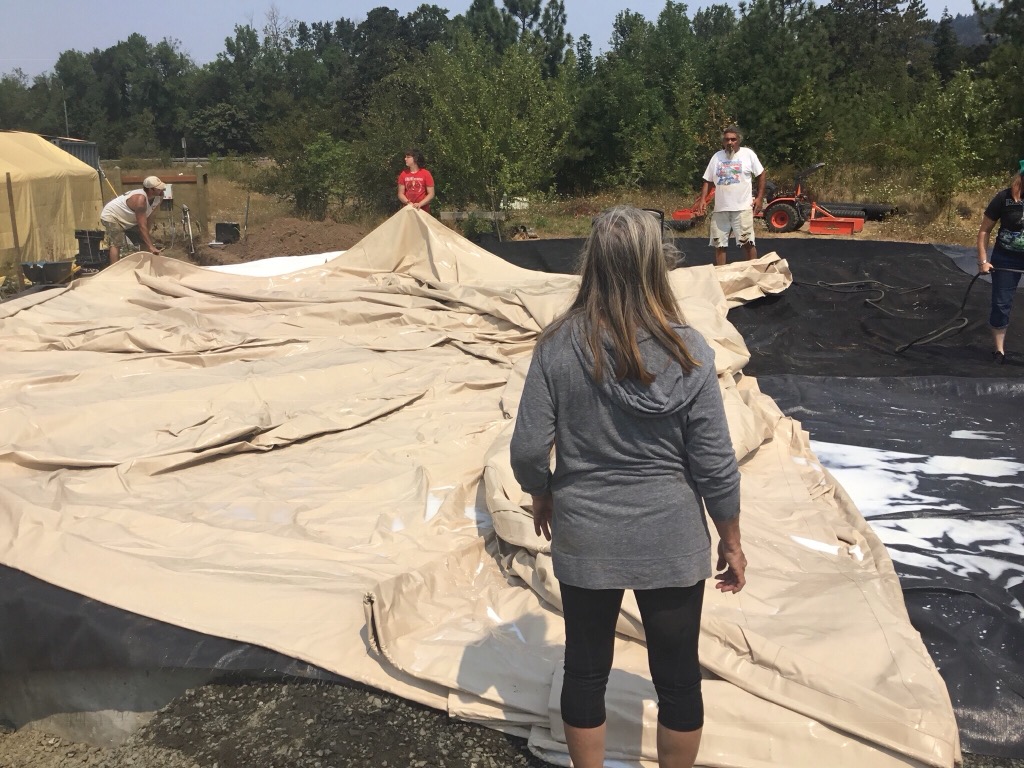
During shipping, some of the primer was punctured and leaked all over things. You can see a bunch on the black cloth to the right of the airform. Fortunately we still had enough primer to get the job done correctly.
IMG_0009.jpeg
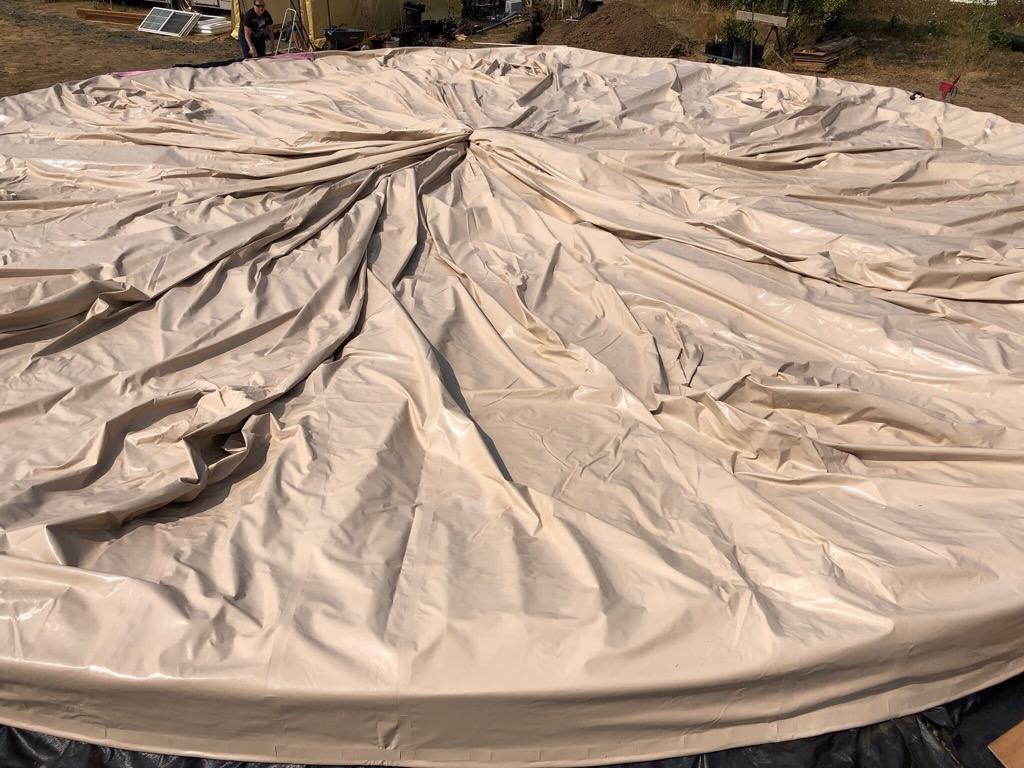
Fully spread out, we still had to drill and attach the brackets along the outside of the airform before it could be inflated. Roughly 320 holes drilled into the concrete later, after that plus some additional prep work, it was ready to inflate on August 14th.
IMG_0010.jpeg
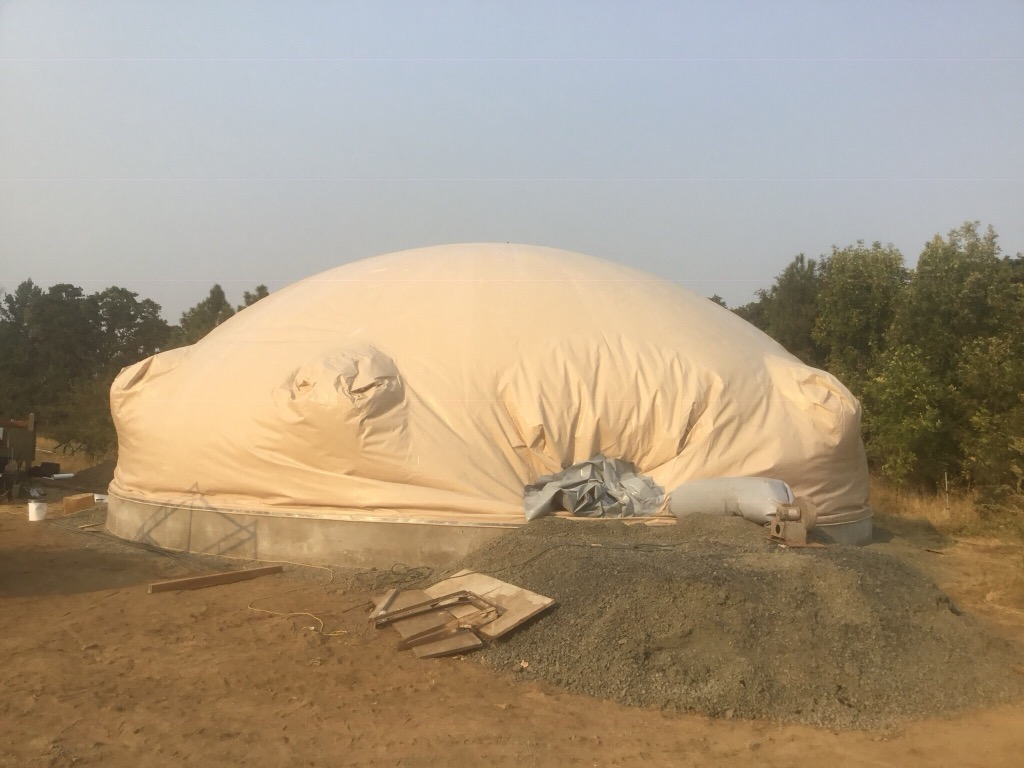
Just like a giant balloon. On the first day we didn’t have the air lock attached, so we just inflated it for the evening to let it stretch out a bit then lowered things back down.
IMG_0011.jpeg

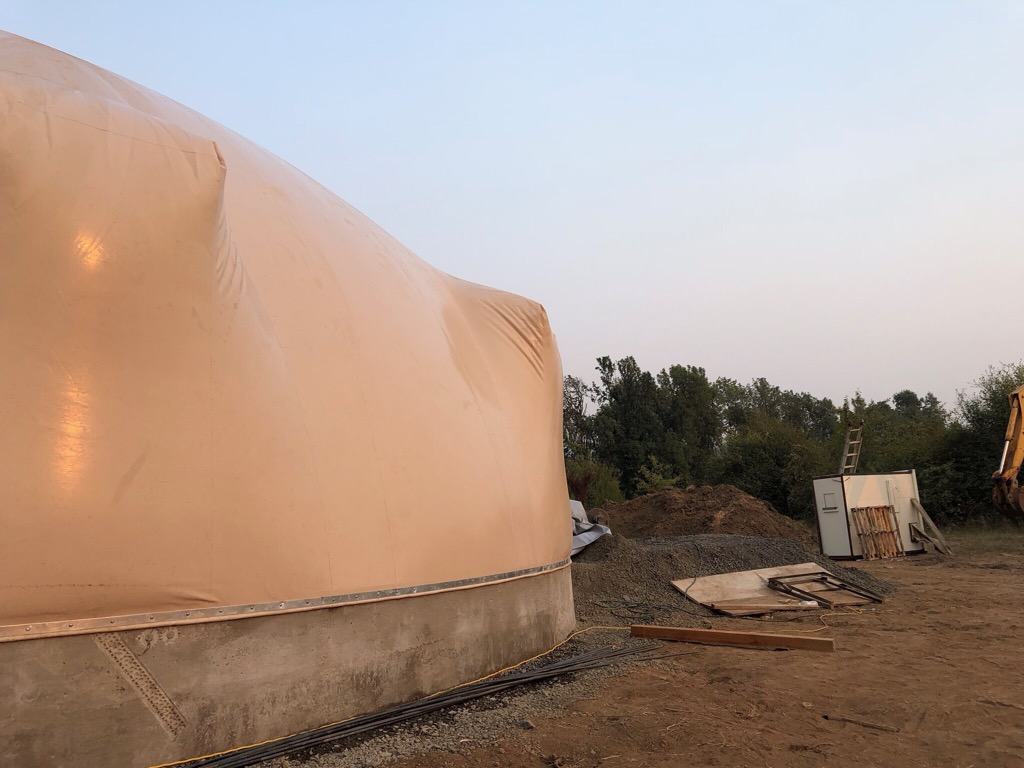
Here it is fully inflated, the airlock is the blocky white thing in the background. The blower makes the airform quite firm.
IMG_0012.jpeg

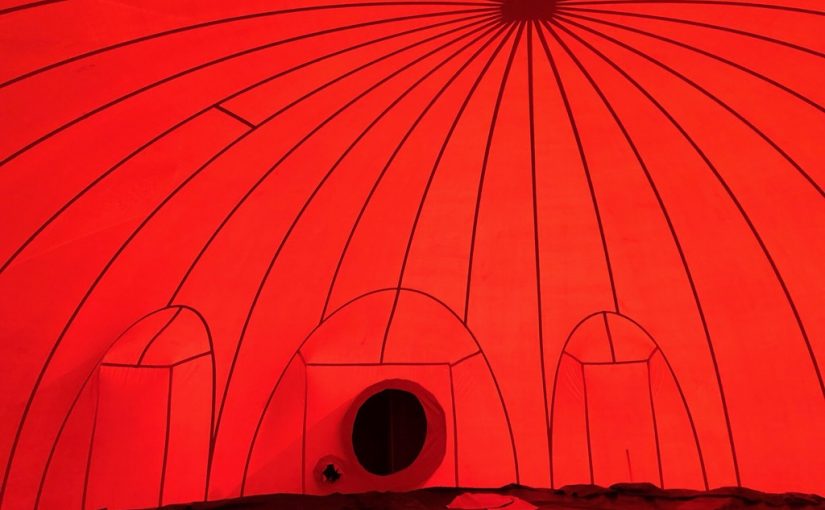
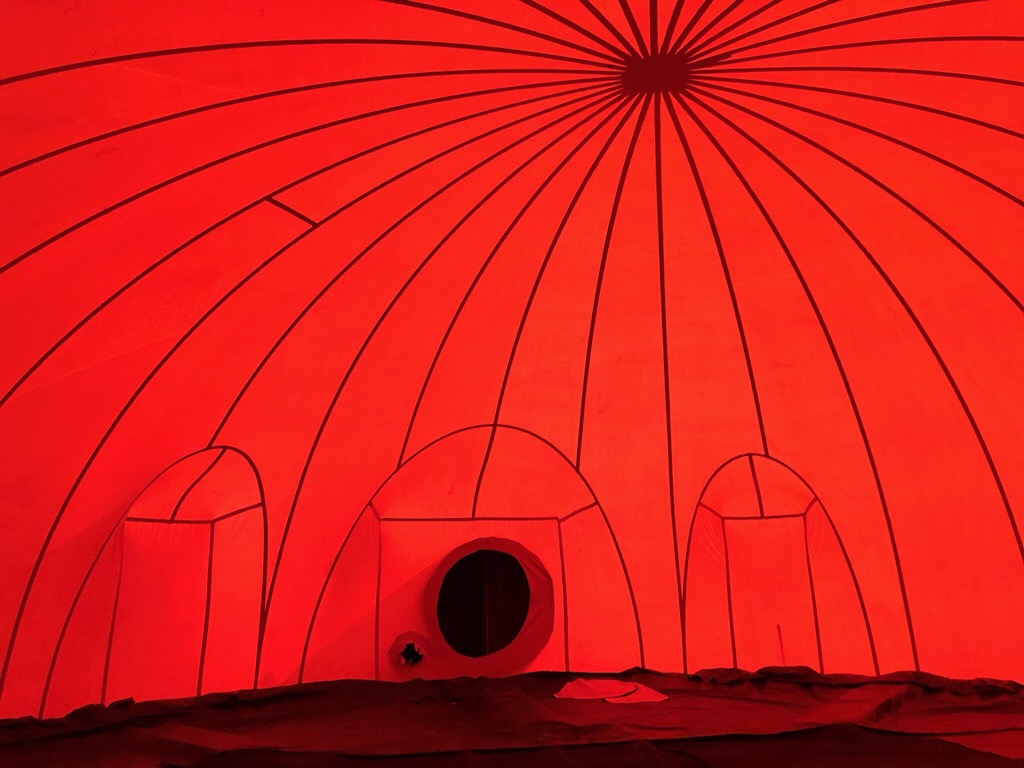
A couple days later with the airlock in place, we were able to explore our house from the inside for the first time. Here it is, looking back at the airlock which will eventually be our front door. The orange color is sunlight filtering through the vinyl and the black lines are thick seams welded into the thick skin of our house.

Next we’ll install the door and window frames and start spraying insulation!
Home Building Update: The UFO Landing Pad

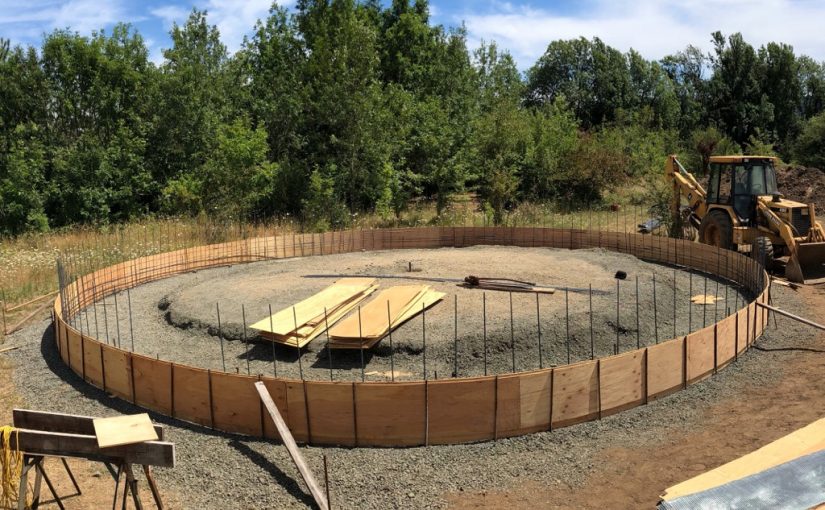
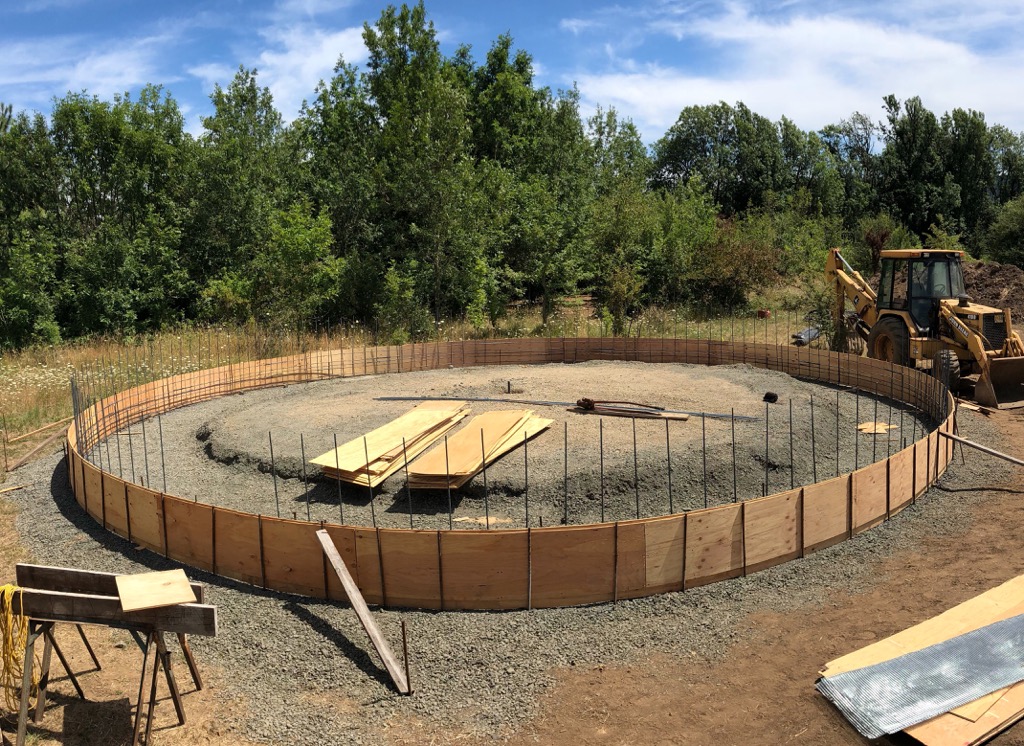
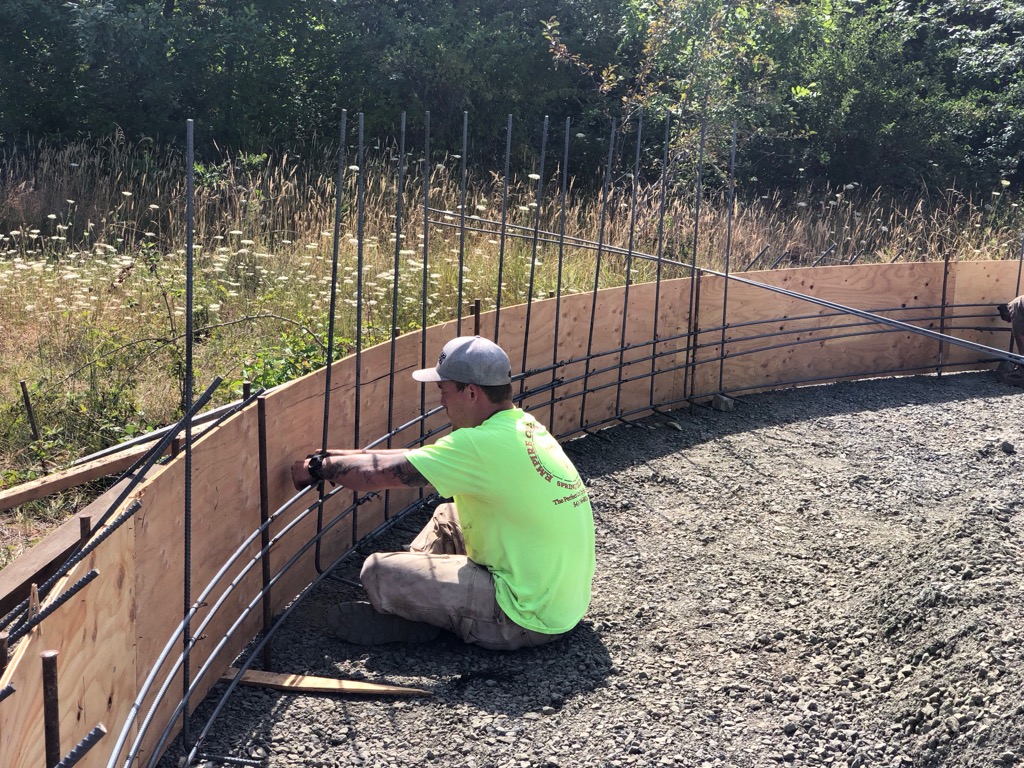
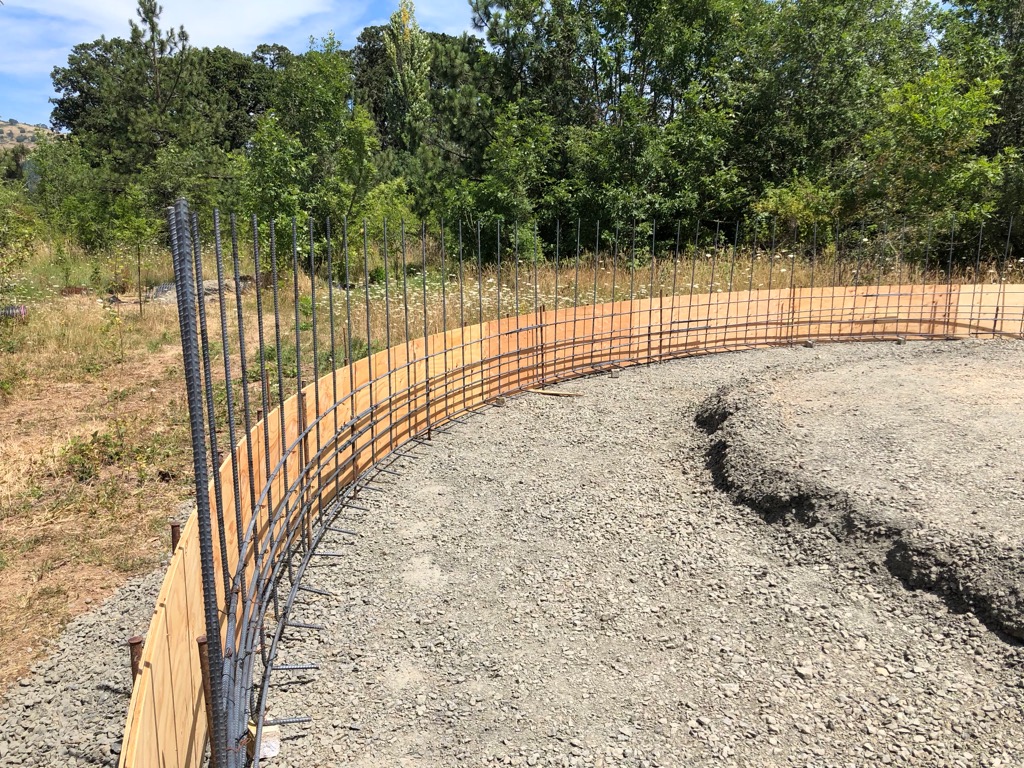
Things are really starting to move now and we’re almost ready to pour the foundation. It’s hard to see from this image, but the inside surface is tight, the forms are butted right up against each other with tight grooves between them so when it’s poured it will be a smooth circle. We’re going to fill with dirt around the base near the doors so we don’t have to put stairs on each side. Next step, they put an inside ring of plywood then, pour concrete, then bend the rebar down so they can clamp the airform to the outside of the foundation. IMG_1305.jpeg
IMG_1293.jpeg
IMG_1307.jpeg

Home build update: Pre-foundation

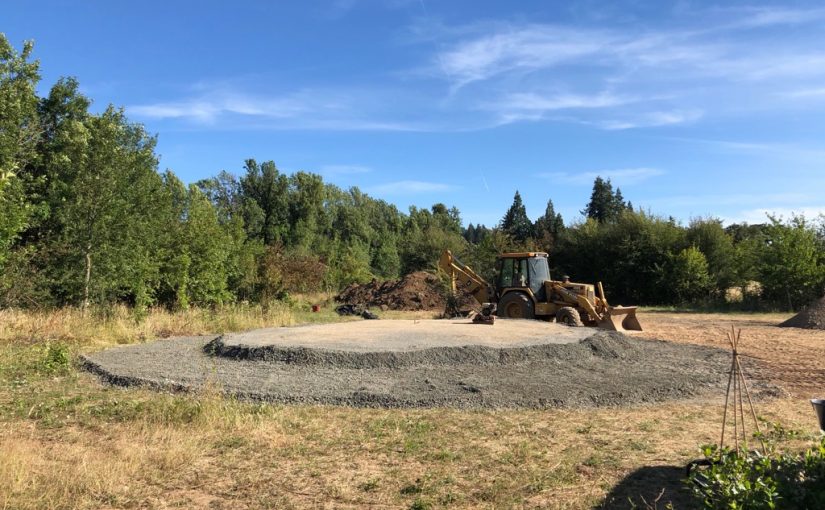
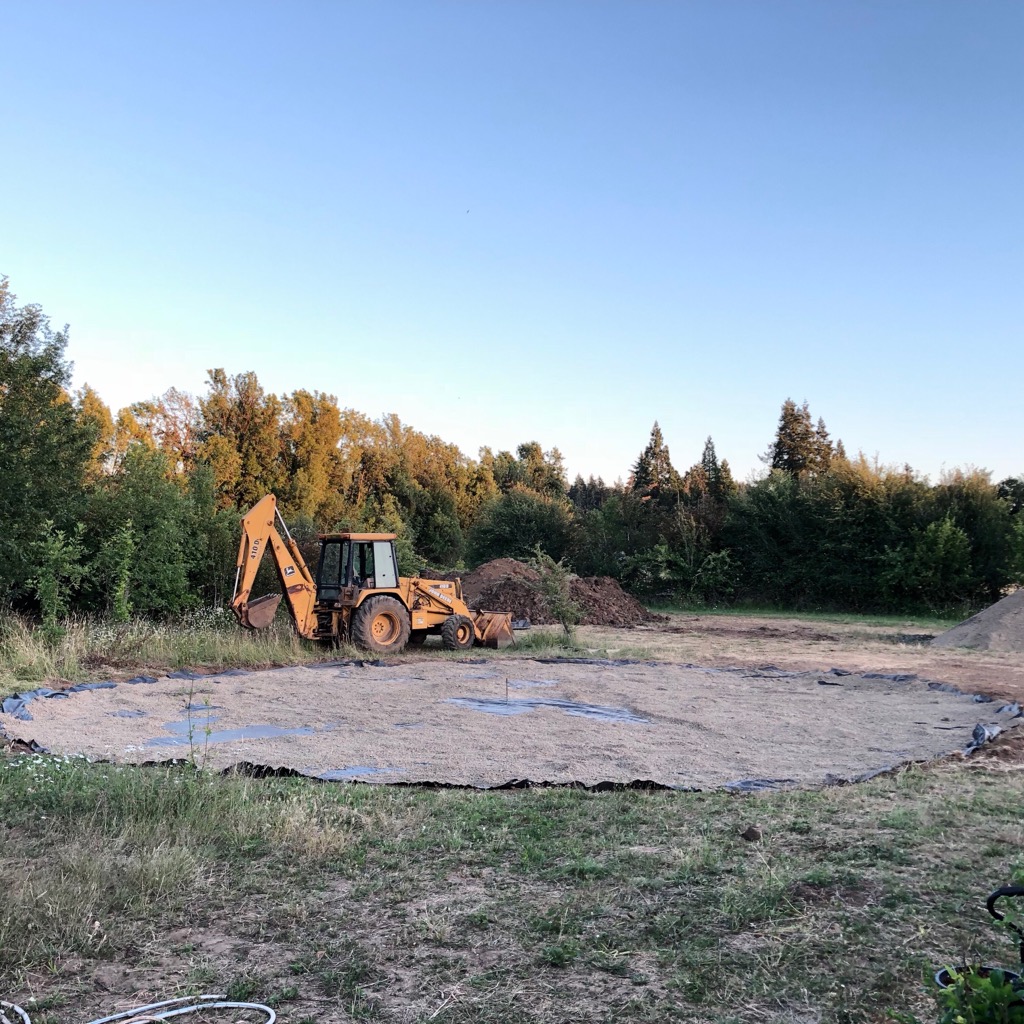
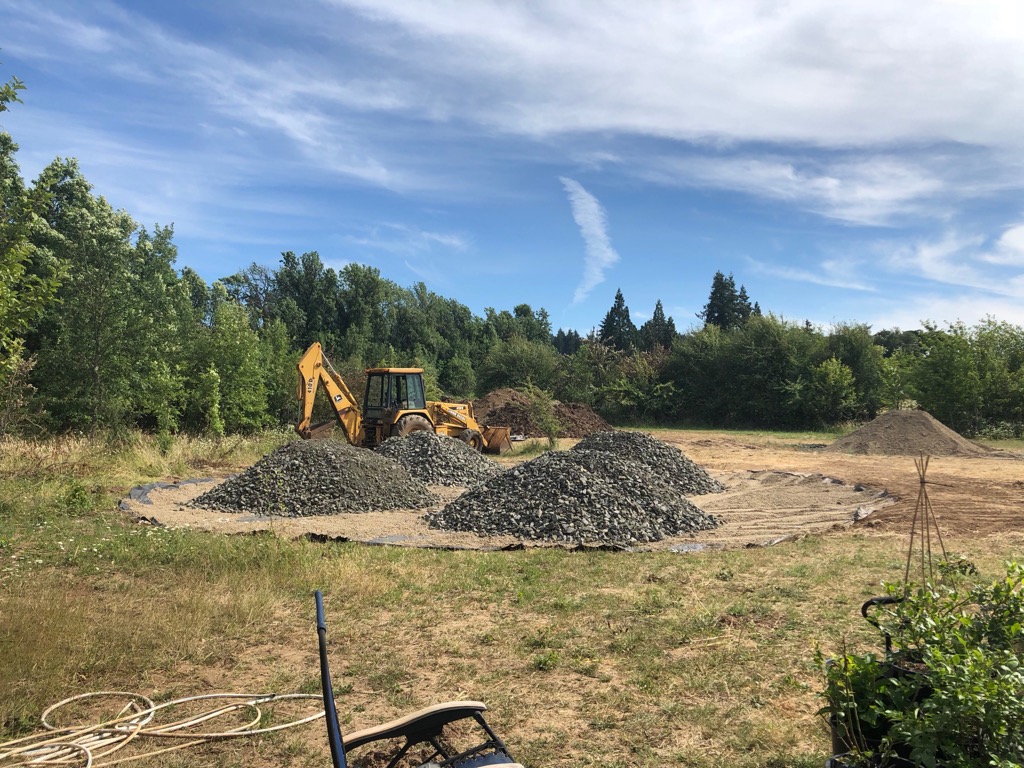
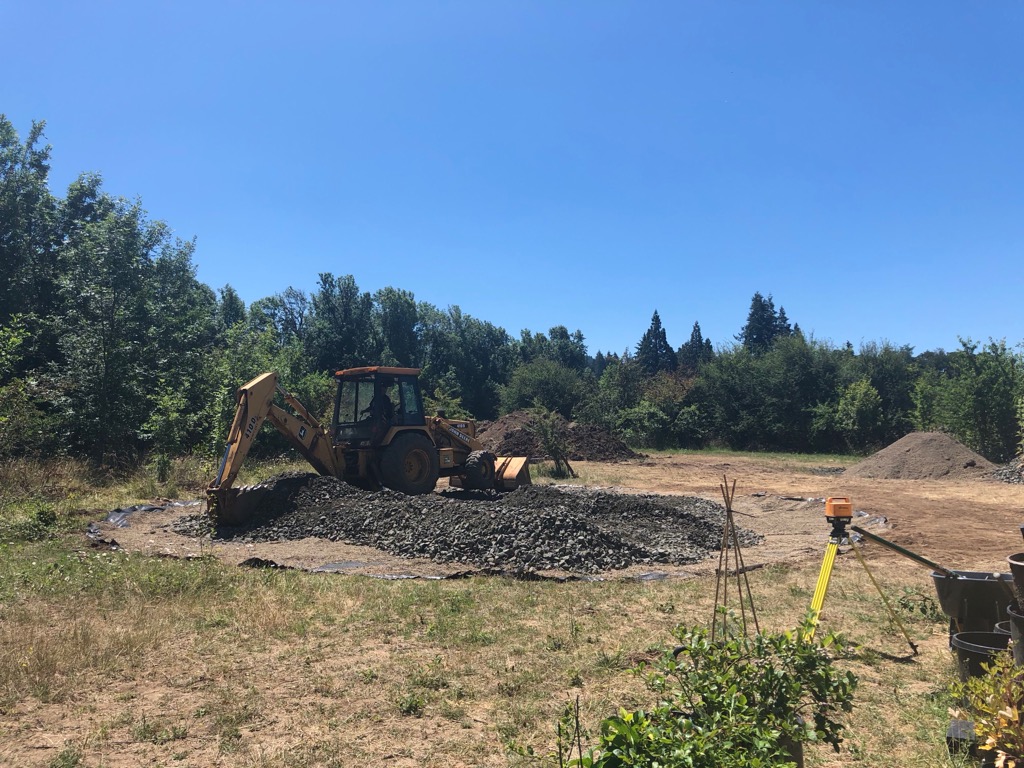
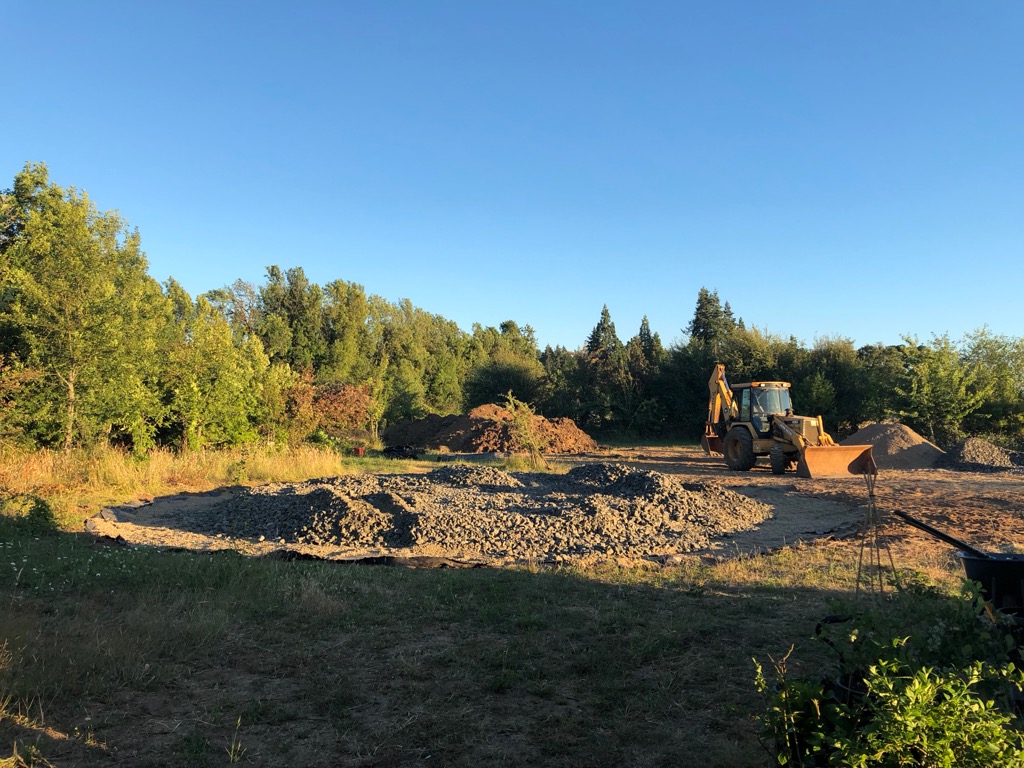
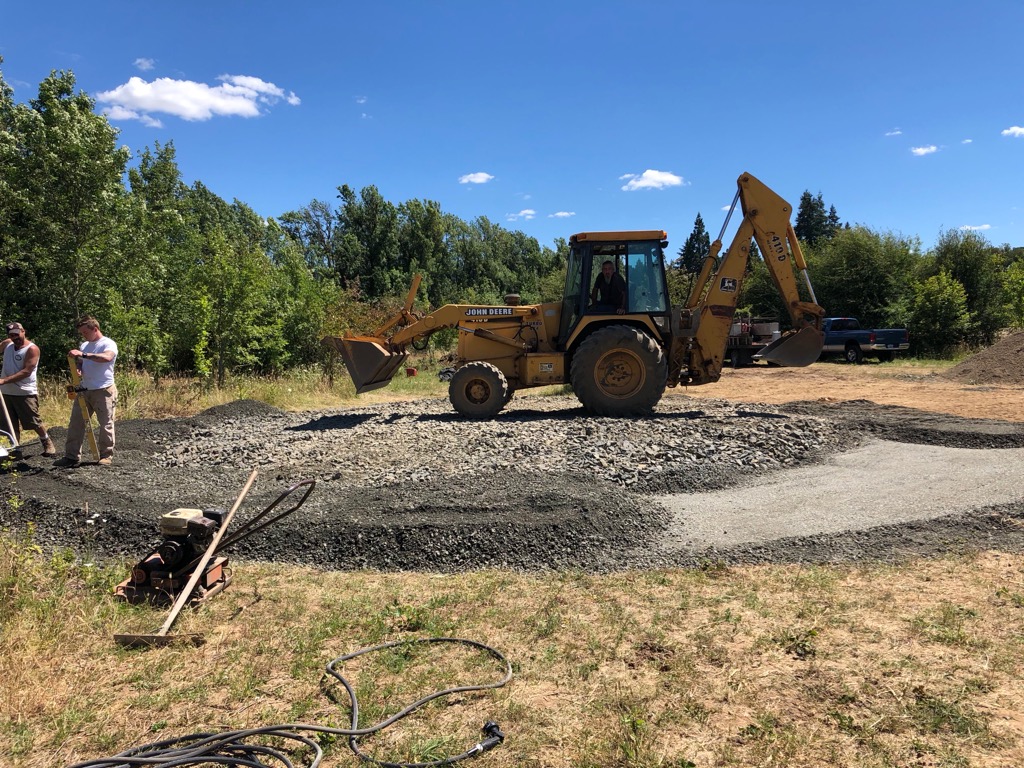
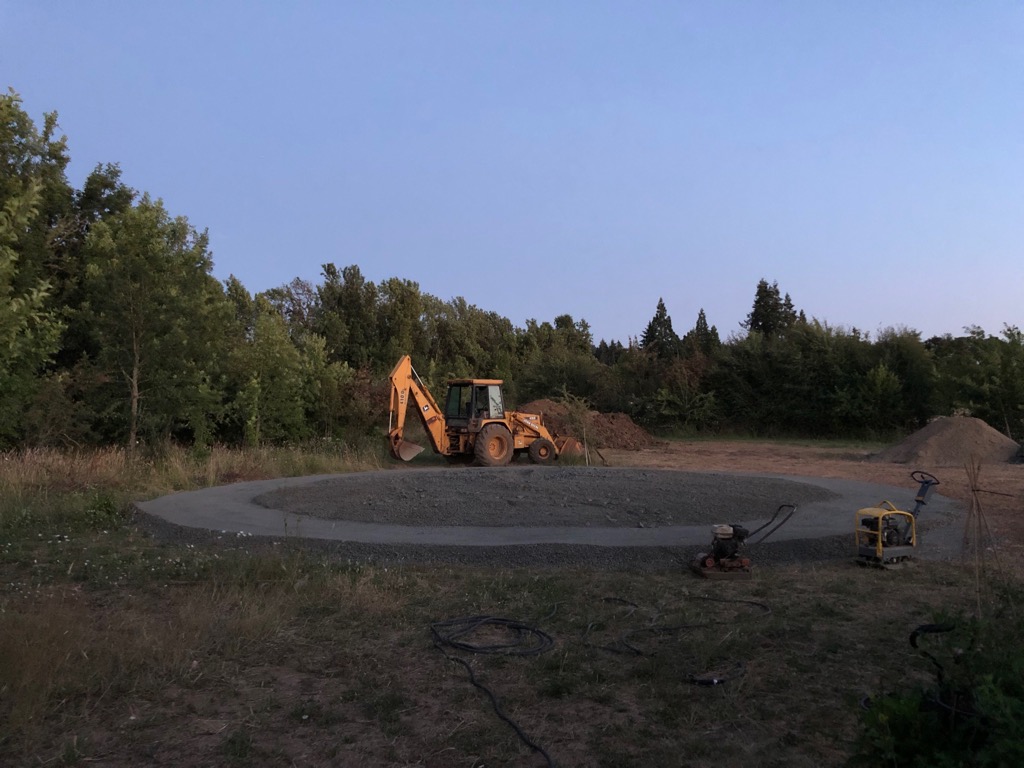
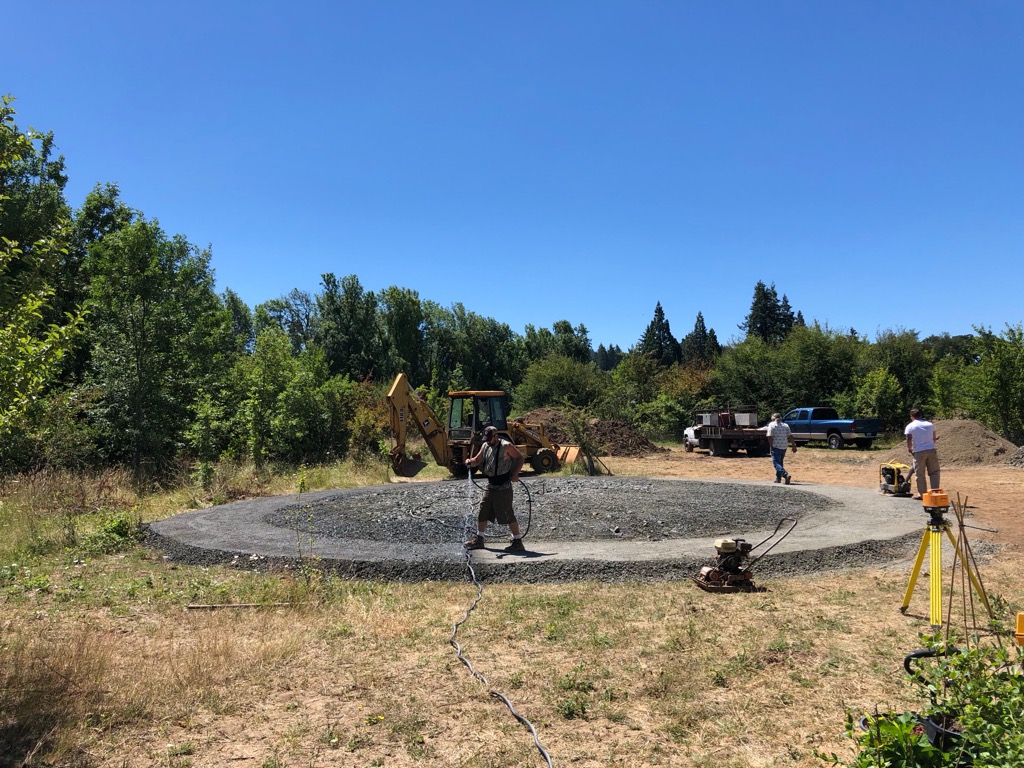
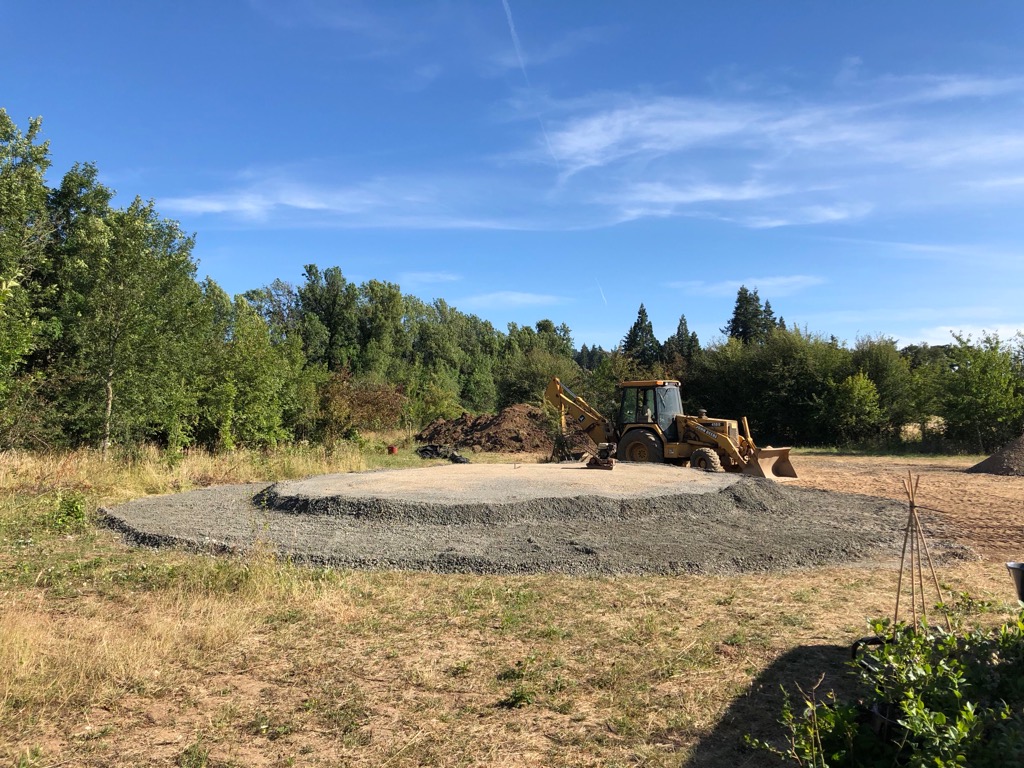
Now that the weather is cooperating things are moving at a good clip. We went from a ring of dirt to a fairly substantial packed gravel slab in less than a week. We’re waiting on tests coming back to ensure the gravel is packed tight enough, but the guy taking the samples seemed to be confident it’s ok. According to Wayne from East-West Concrete we should have forms in place next week and hopefully the foundation poured shortly after.

The floor is going to be about 2′ 7″ above ground level due to flood concerns which is why it’s built up so high. That puts our roof 19 feet above ground level.

Septic is finally in the home stretch, we’re taking delivery of 60 tons of fill dirt tomorrow to cover up the leech lines then we’ll be fully operational (after inspection).

IMG_1139.jpegIMG_1143.jpeg
IMG_1147.jpeg
IMG_1151.jpeg
IMG_1154.jpegIMG_1158.jpeg
IMG_1161.jpeg
IMG_1164.jpeg

A few quick updates on the house

… it’s been a long time since I’ve blogged about much, so on Father’s Day 2018, I’m posting about a lot of random stuff.

About 8 years ago we bought a place along highway 58 with the goal of building a house on it “Next Year”… and every year since then it’s been “Next Year”. Last year we thought it was finally the year it would happen, but delays in the permitting process and weather prevented that, but it’s looking like there is a very good chance we’ll at least start building *this year* and very soon.

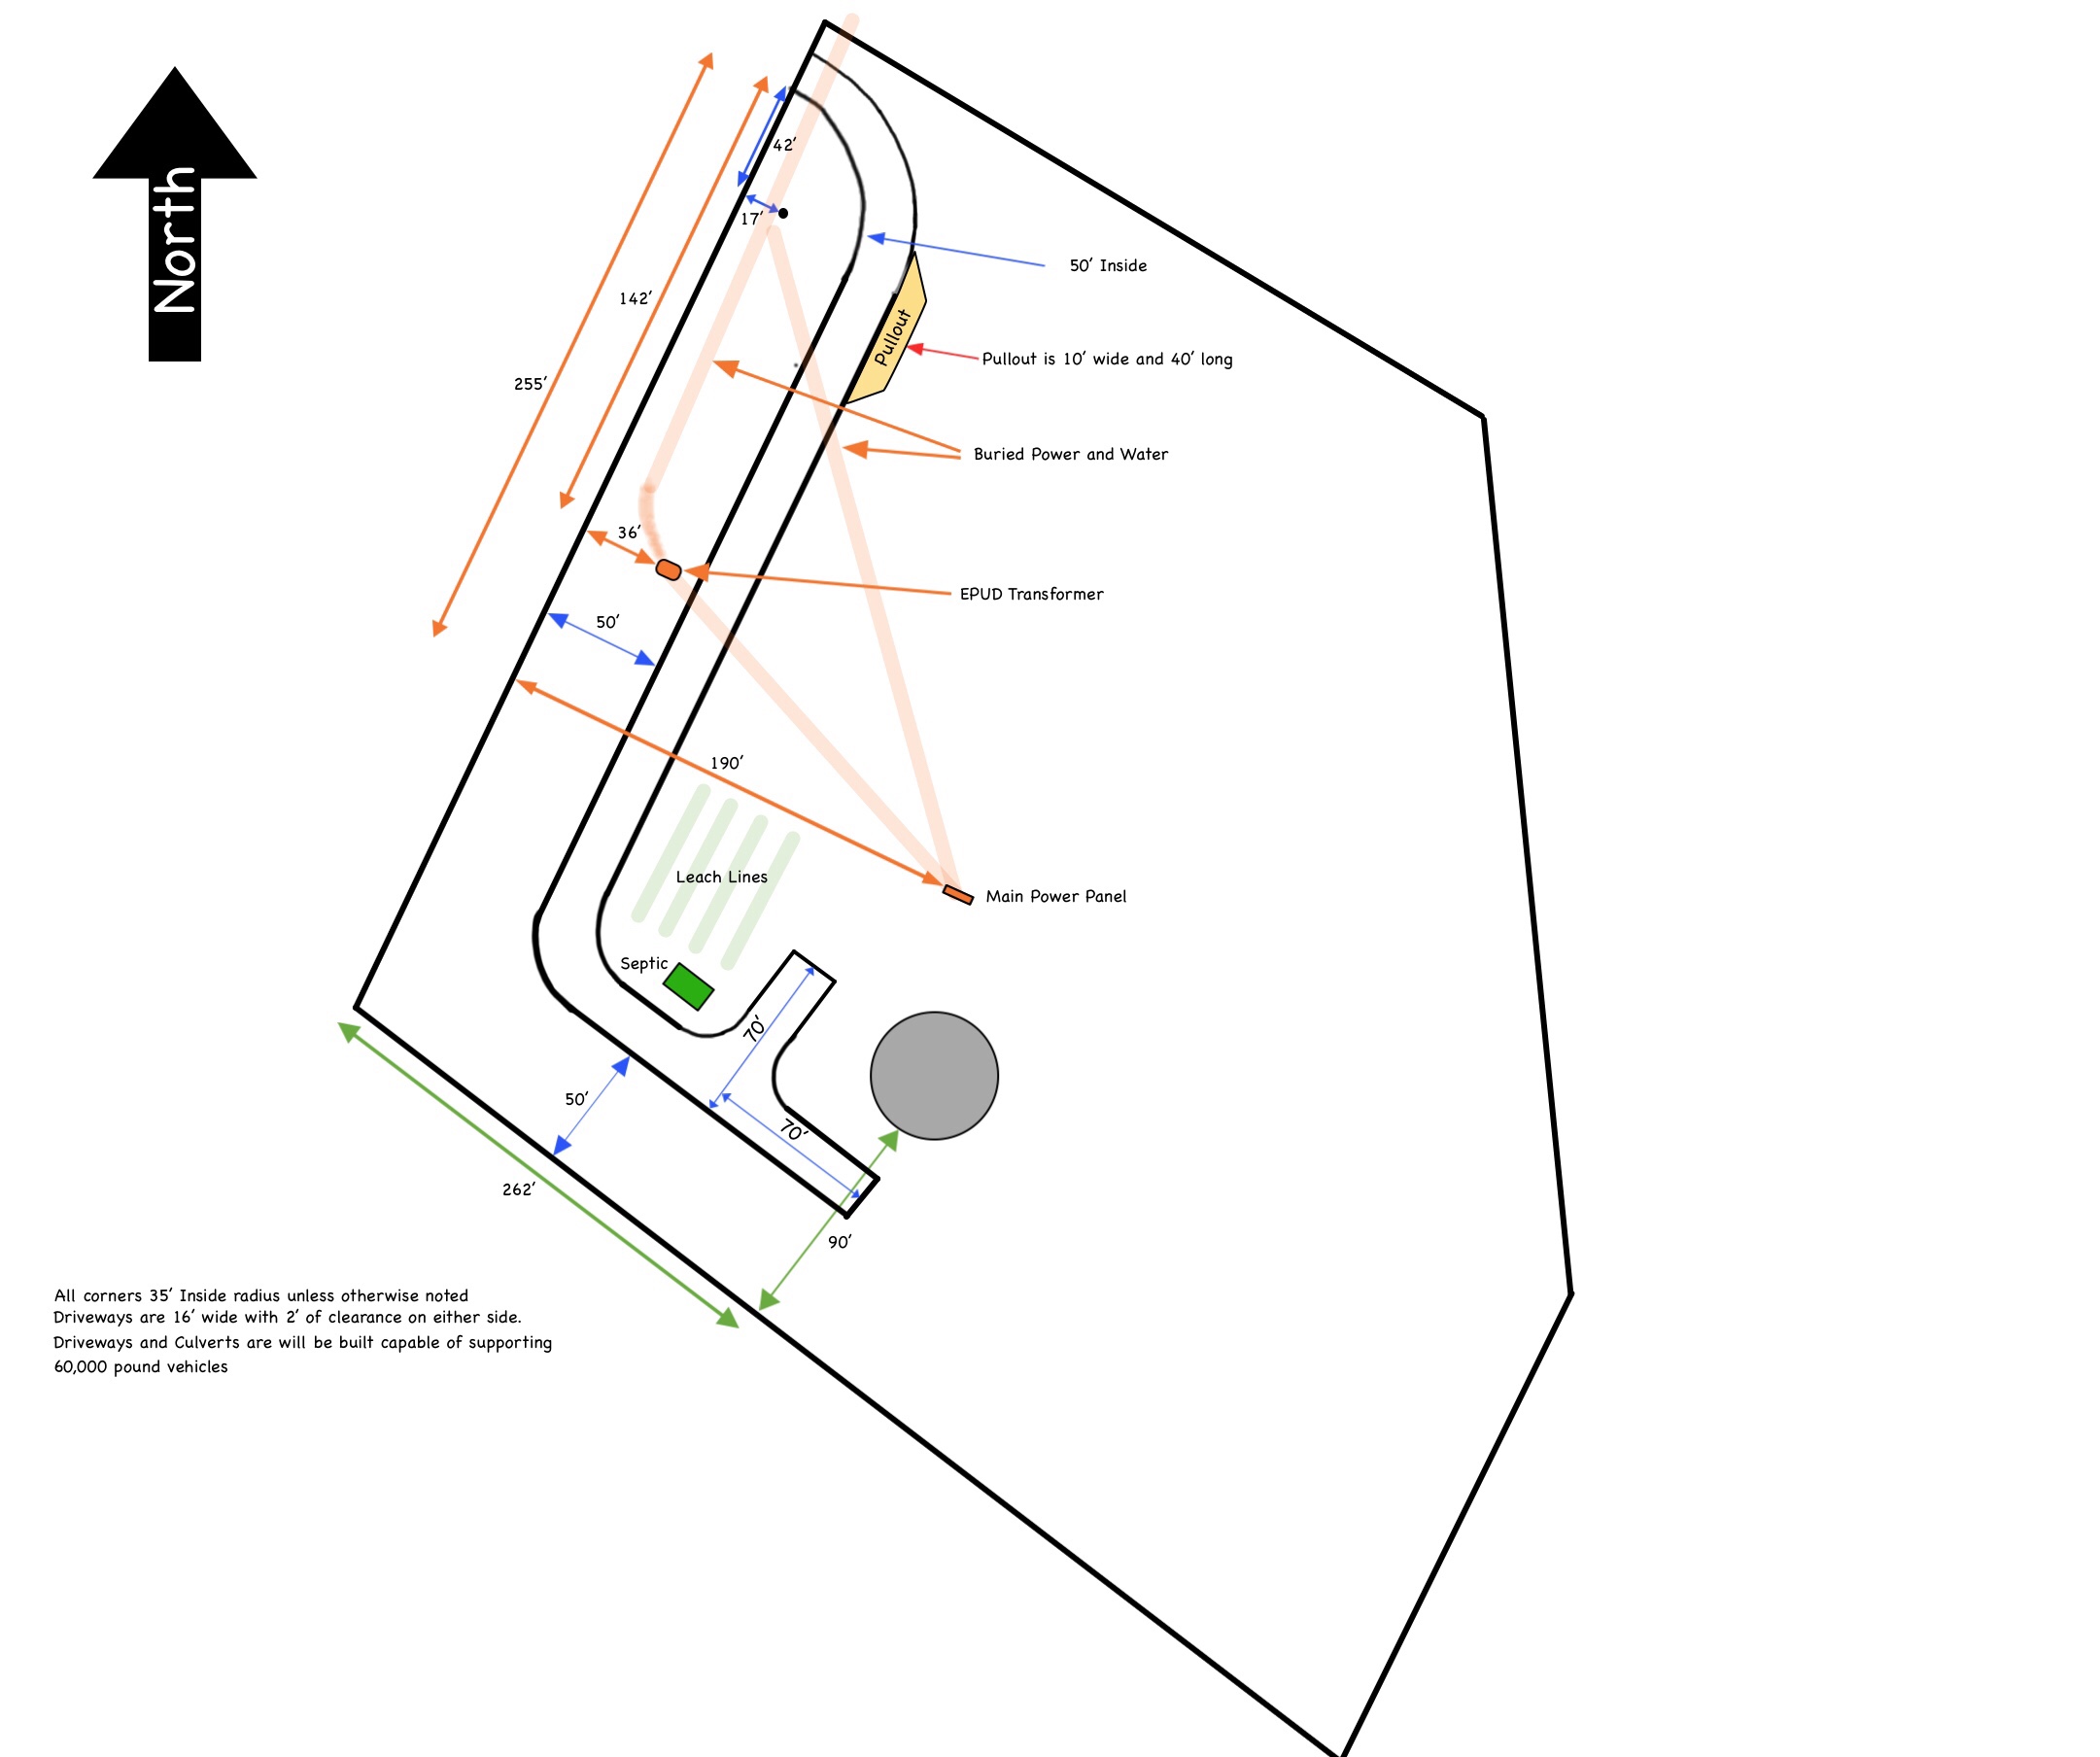
(This is the site plan for our property, we have 4.5 acres)

Lane County dragged their feet on granting us our building permit and didn’t finalize it until very late in the year. So late in fact that we were only able to just barely get the driveway finished before the rains started in earnest.

We also contacted a septic installer to install our septic system, but they’ve proved to be the least competent septic installer in Lane County and our septic system is *still* not complete, and suffered some damage over the winter because it wasn’t buried.

We still absolutely love the property with one small exception, we are right on highway 58 and the noise from the road is bad. We are working on a fence which should help a bit, and we’ve planted over 80 trees which should help block site and noise.

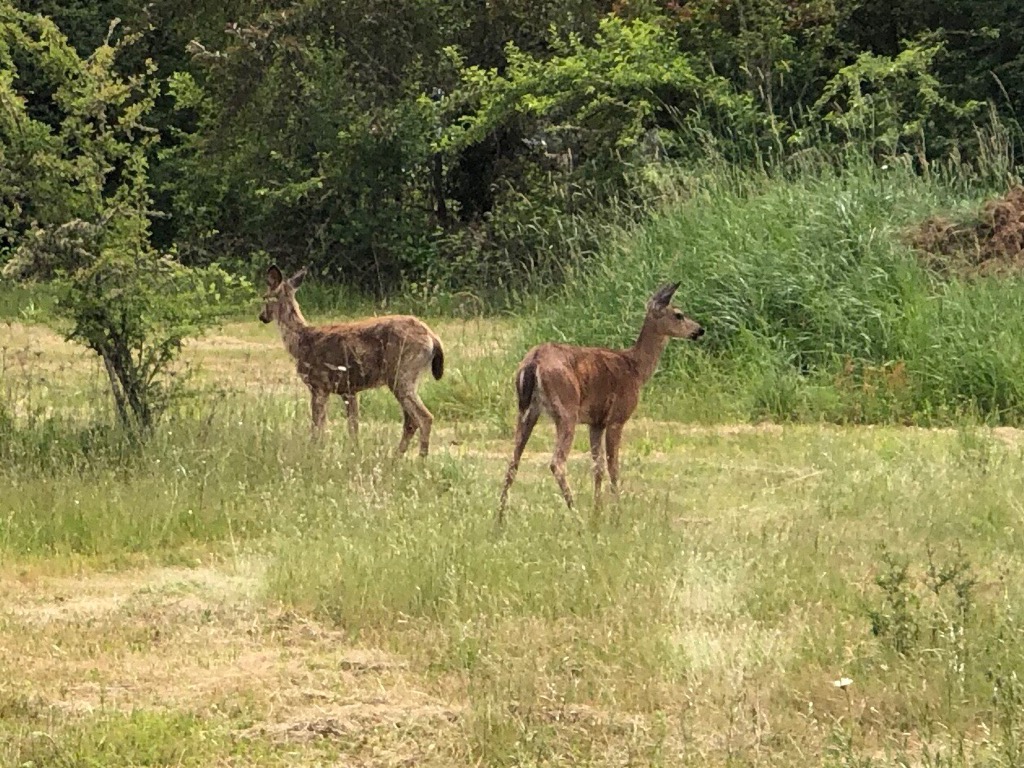
We’ve been living in the RV for about a year now which… sucks… but not quite bad enough where either of us want to move back into an apartment in town. Being on our place and being able to work on the driveway, plant trees, install irrigation, and enjoy the wildlife on our property makes up a whole lot for the RV life.

Our septic system should be completed within the next week or two and our main builder is just finishing up a project and will soon by starting the grading and build up required before building the foundation. We’ve been told everything is lined up to be ready to move in August.
IMG_0927.jpeg

IMG_0919.jpeg

IMG_0911.jpeg
IMG_0913.jpeg

Out to have new experiences.

Riding bikes seems to be a forever evolving thing.  You start by learning to ride, then try to acquire some skills to improve your riding experience.  With each skill mastered, comes the need to try to do something harder, more challenging.  Well, how about trying to ride a bicycle built for two?

A few weeks back Ogre and I were allowed to borrow a friend’s mountain tandem to see if we would enjoy the experience.  We had played with the idea of getting one for a while, but I was nervous about the discrepancy in our ride levels.  I had heard that matching your cadence is really important in riding a tandem.  We ended our demo ride with big smiles and a decision that a tandem would be a great addition to our bikes.  Over the following weeks we began looking through ads and discussing what features we thought would be the most important to have on our tandem.  I personally wanted a rear suspension.  The demo bike had a Thudbuster seatpost, but I felt like more suspension would be a better option.  We talked about the tandem for a couple more days and finally decided to plan to get one for our anniversary in July.

Then this past week he comes home with the news that another friend has a mountain tandem that he’s getting ready to put up for sale.  Want to try it out, he asks.  Why not.  He makes the arrangements, we get up Saturday morning, load our gear, and head out.  Morgan has the garage open and is setting up the bike so we can try it as we pull up.  He lives close to Joaquin Miller Park and has an idea of a route we can use to demo the bike.  He rode along with us giving us hints and preparing us for anything tricky up ahead.  The funniest part was him telling us how he rides this section or that one with his son so we should be ok.  We manage to complete the route without any carnage and return to his house again wearing big smiles.  What a blast!
Ogre turns to me with one question, so we doing this?  Oh, yeah!  So now we have our own tandem mountain bike to hit the trails.  It’s going to take a little while to learn how to ride the tandem together.  Other tandem riders we’ve spoken to have given us lots of great advice.  The one thing that keeps coming up is that the captain and stoker must learn some commands.   Everything from which foot to start pedaling with to when to coast have to be communicated back and forth.  It’s going to be interesting learning all new skills, but I definitely think I’m up to the challenge.